Table of Contents >> Show >> Hide
- What Rekeying Actually Means
- First: Figure Out Which Kwikset Lock You Have
- Tools You Will Need
- How to Rekey a Kwikset SmartKey Lock
- Common SmartKey Problems and How to Avoid Them
- How to Rekey a Traditional Pin & Tumbler Kwikset Knob
- Step 1: Remove the Knob From the Door
- Step 2: Remove the Cylinder
- Step 3: Remove the Retaining Clip or Ring
- Step 4: Use the Follower and Remove the Plug
- Step 5: Dump the Old Bottom Pins
- Step 6: Insert the New Key
- Step 7: Match the New Pins to the Key
- Step 8: Reassemble the Cylinder
- Step 9: Test the Lock
- SmartKey vs. Pin & Tumbler: Which Is Easier?
- When You Should Rekey Instead of Replace
- Mistakes That Make Rekeying Harder Than It Needs to Be
- Real-World Experiences and Lessons From Rekeying Kwikset Locks
- Conclusion
If you have ever moved into a new house, misplaced a key, lent one to a contractor, or suddenly realized your teenager’s “responsible friend” still has a copy from last summer, rekeying starts to sound less like a home project and more like emotional self-defense. The good news is that a Kwikset lock can often be rekeyed without replacing the whole lockset. The better news is that the process can be surprisingly manageable if you know which kind of lock you have.
That last part matters. A lot. Because a Kwikset SmartKey lock and a traditional pin and tumbler Kwikset knob are not rekeyed the same way. One is a quick on-door procedure with a learning tool. The other is a tiny-metal-parts adventure that rewards patience, good lighting, and the ability to not sneeze at the wrong moment.
This guide breaks down both methods in plain English, with practical steps, common mistakes, and a few sanity-saving tips along the way. Whether you are trying to match multiple doors to one key or simply want more control over who can enter your home, here is how to rekey a Kwikset lock the smart way.
What Rekeying Actually Means
Rekeying changes the lock so it works with a different key without replacing the full hardware on the door. In other words, you keep the knob or deadbolt body, but you change the internal configuration so the old key stops working and the new key takes over.
That makes rekeying a solid choice when you:
- move into a new home,
- lose track of spare keys,
- want one key for several Kwikset locks,
- rent out a property and need to reset access, or
- just prefer security without buying all-new hardware.
What rekeying does not do is fix a physically damaged lock. If your knob is loose, the cylinder is worn out, or the key already turns like it is stirring cold peanut butter, replacement may be the better move.
First: Figure Out Which Kwikset Lock You Have
Before you grab tools and confidence, identify the lock type.
Kwikset SmartKey
A SmartKey lock usually has a small slot or hole next to the keyway on the face of the cylinder. This system is designed so you can rekey the lock while it is still installed on the door. If your lock came with a small orange or red learn tool, that is another clue you are dealing with SmartKey.
Traditional Pin & Tumbler Knob
If there is no SmartKey slot, you likely have a standard pin and tumbler cylinder. Rekeying this style involves removing the knob or cylinder, opening the plug, dumping the old bottom pins, and inserting new pins that match the cuts of the new key. It is absolutely doable for a careful DIYer, but it is less “tap, turn, done” and more “tiny locksmith cosplay at the kitchen table.”
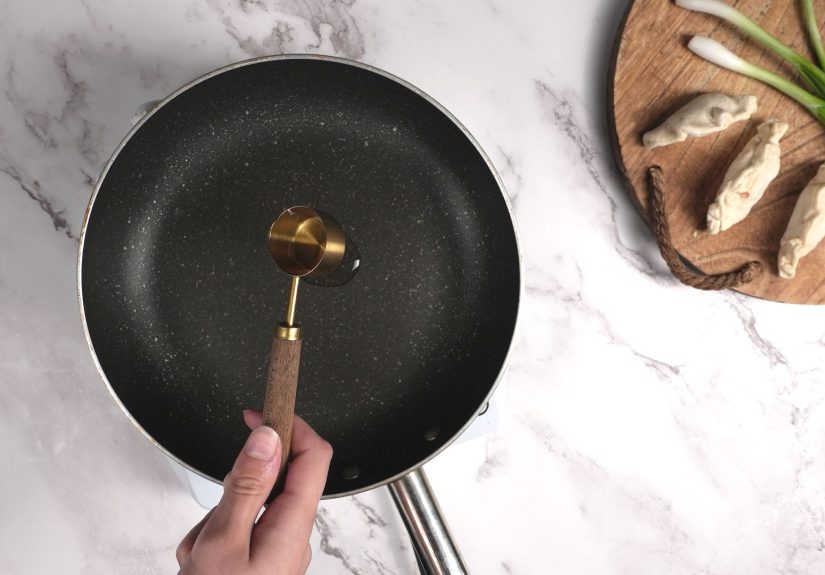
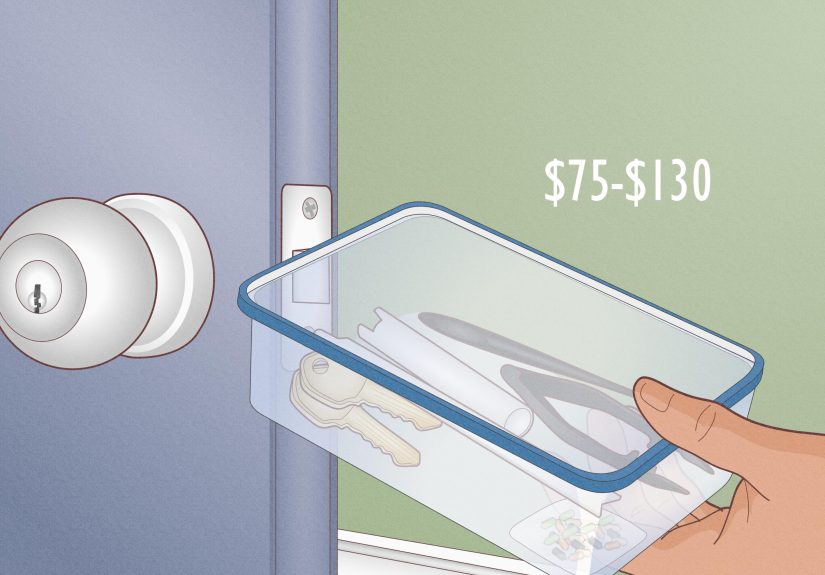
Tools You Will Need
For a Kwikset SmartKey Lock
- The current working key
- The new Kwikset-compatible key
- The SmartKey learn tool
- An open door and a calm attitude
That is the beauty of SmartKey. No pin kit. No follower tube. No hunting for one runaway spring that has somehow achieved orbit.
For a Traditional Pin & Tumbler Kwikset Knob
- A Kwikset rekeying kit made for traditional pin and tumbler cylinders
- The new key you want the lock to use
- A screwdriver
- Tweezers or the kit’s pin tool
- A follower tool
- A clean, well-lit work surface
- A tray or towel to keep pins from rolling away like they owe you money
Make sure your kit matches the lock type. A SmartKey kit is for SmartKey cylinders. A traditional Kwikset rekey kit is for traditional pin and tumbler cylinders. Mixing them is a fast path to confusion and very slow progress.
How to Rekey a Kwikset SmartKey Lock
If your lock has SmartKey, congratulations: this is the quicker path. It is one of the main reasons homeowners like the system in the first place.
Step 1: Open the Door First
Always rekey with the door open. Yes, always. This is one of those “it only takes one mistake” jobs. If something goes wrong and you test the lock on a closed door, you may learn more about your local locksmith than you planned.
Step 2: Put the Lock in the Correct Position
If it is a deadbolt, place it in the locked position. If it is a knob or lever, it should also be in the locked position. Insert the current working key fully into the cylinder.
Step 3: Turn the Key 90 Degrees Clockwise
Rotate the current key a quarter turn until it is horizontal. Do not remove it yet. This step sets the cylinder up to learn a new key.
Step 4: Insert the SmartKey Tool
Push the SmartKey learn tool fully and firmly into the SmartKey slot. You may feel a click. Remove the tool, then remove the old key while the cylinder remains in that programmed position.
Step 5: Insert the New Key
Take the new key you want the lock to use and insert it all the way. Fully means fully. If the key is not seated completely, the rekey may fail, and your lock may become cranky enough to ruin your afternoon.
Step 6: Rotate the New Key
Turn the new key 180 degrees counterclockwise, then back the appropriate direction to return it toward the starting position. Follow the movement smoothly. Do not push or pull on the key while turning.
Step 7: Return to Start and Remove the Key
Rotate the key back to the original vertical position and remove it. The old key should no longer work, and the new key should now operate the lock.
Step 8: Test Before You Celebrate
Test the new key several times with the door still open. Lock it, unlock it, lock it again, and make sure the cylinder feels normal. If something feels off, fix it now, not after you have walked outside to get the mail in socks.
Common SmartKey Problems and How to Avoid Them
The New Key Comes Out Too Early
If you remove the new key before finishing the sequence, the cylinder may be misprogrammed. That is not the end of the world, but it is your cue to pause and recover the cylinder properly rather than improvising like a TV detective.
Neither Key Works
This can happen when the lock is programmed incorrectly. In that case, a SmartKey reset cradle may be needed to repair the cylinder. If you do not have that tool, this is a good moment to call a locksmith instead of escalating into a home-improvement fever dream.
The Wrong Key Type
Use the correct Kwikset-compatible keyway for the cylinder you have. Many SmartKey locks use the Kwikset KW1 style, though some SmartKey products are also made for SC1 keyways. In plain terms: just because a key slides in does not mean it is the right match for rekeying.
How to Rekey a Traditional Pin & Tumbler Kwikset Knob
This method is more hands-on. It is not difficult in a mystical sense, but it does require focus. Think of it as a small mechanical puzzle where the reward is better security and the penalty is crawling on the floor looking for a spring.
Step 1: Remove the Knob From the Door
Use a screwdriver to remove the knob or lever from the door. Depending on the model, you may need to line up the cylinder, press a release, or turn the key slightly to free the knob. Keep screws organized so reassembly does not turn into a guessing game.
Step 2: Remove the Cylinder
With the knob off, push the cylinder out from the knob assembly. You are trying to isolate the part that holds the key plug and pins.
Step 3: Remove the Retaining Clip or Ring
Most traditional Kwikset cylinders use a clip to hold the plug in place. Remove that carefully using the tool from your rekey kit. This is not a strength contest. Controlled pressure wins.
Step 4: Use the Follower and Remove the Plug
Insert the current key if needed, then slide the plug out with the follower tool behind it. The follower is important because it keeps the top pins and springs from launching into low Earth orbit.
Step 5: Dump the Old Bottom Pins
Once the plug is out, remove the bottom pins from the plug chambers. These are the pins that match the cut pattern of the old key. Set them aside so you do not accidentally mix them with the new pins.
Step 6: Insert the New Key
Put the new key into the plug. Now the goal is to load new bottom pins so they sit flush with the shear line when this key is in place.
Step 7: Match the New Pins to the Key
Use the key gauge or chart included in the rekey kit to choose the correct pins for each chamber. Insert the new bottom pins one by one. When the correct pin is in the correct position, it should sit flush with the surface of the plug while the key is inserted.
Step 8: Reassemble the Cylinder
Carefully slide the plug back into the housing while withdrawing the follower. Reinstall the clip ring or retainer. Then place the cylinder back into the knob and reattach the knob to the door.
Step 9: Test the Lock
Test the new key several times with the door open. It should turn smoothly and consistently. If it binds, something is probably mispinned, not “just being stubborn.”
SmartKey vs. Pin & Tumbler: Which Is Easier?
SmartKey wins on speed, convenience, and the number of tools required. If you have the working key and the learn tool, the process is usually quick and beginner-friendly.
Pin and tumbler rekeying offers a more traditional approach and can be satisfying if you like mechanical projects, but it takes longer and has more opportunities for user error. It is better for patient DIYers than for people who think “careful work” means using both hands instead of one.
If your goal is simply to change the key with minimal fuss, SmartKey is the easier route. If your lock is traditional, however, repinning can still be worth doing if the hardware is in good shape and you want to keep it.
When You Should Rekey Instead of Replace
Rekeying is usually the better choice when the lock itself is still working well and you only want to change who has access. That includes move-ins, tenant turnover, missing keys, and matching several doors to one key.
Replacement is often smarter when:
- the lock is damaged or worn out,
- you want a different finish or style,
- you are upgrading security hardware,
- the lock type is incompatible with your current key plan, or
- the cylinder has been mangled by previous DIY heroics.
Mistakes That Make Rekeying Harder Than It Needs to Be
Working on a Closed Door
This is the classic mistake. Always keep the door open during setup and testing.
Assuming Every Kwikset Lock Uses SmartKey
Not all Kwikset locks use the same cylinder type. Check for the SmartKey slot before buying tools.
Mixing Old and New Pins
With traditional rekeying, one mixed-up pin can cause sticky operation or total failure. Keep parts separated and work slowly.
Using the Wrong Rekey Kit
A SmartKey kit is not for traditional cylinders, and a traditional pin kit is not for SmartKey. This seems obvious until you are standing in the hardware aisle staring at two nearly identical packages and losing faith in typography.
Skipping the Final Test
If you only test once, you are really just hoping. Test multiple times. Locks enjoy consistency. So should you.
Real-World Experiences and Lessons From Rekeying Kwikset Locks
In real homes, rekeying a Kwikset lock is rarely just about the lock. It is usually tied to a life event. Someone bought a first house. Someone wrapped up a renovation. Someone had a roommate move out. Someone realized there are somehow nine copies of the front-door key floating around the universe and none of them seem to be in the key bowl.
One of the most common experiences with Kwikset SmartKey is surprise at how fast the process feels once the right steps are followed. Homeowners often expect rekeying to mean taking the lock apart, lining up microscopic parts, and watching online videos at half speed. Then they discover SmartKey can be done on the door in a short session. The catch is that the process only feels easy when the current key works, the new key is fully inserted, and nobody rushes through the turning sequence. Most SmartKey frustration comes from going too fast, not from the design itself.
Traditional pin and tumbler knob rekeying creates a very different experience. People who enjoy careful DIY work often find it satisfying, almost meditative. There is a nice rhythm to removing the cylinder, setting up the follower, matching pins to the new key, and reassembling the lock so it turns cleanly. But people who start the job with poor lighting, a cluttered table, and three unrelated errands in progress tend to have a very different emotional journey. Traditional rekeying rewards preparation more than confidence.
Another real-world lesson is that homeowners often underestimate how helpful it is to rekey multiple doors at once. If the front door, garage entry, and back door all use Kwikset hardware, getting them onto one key can make daily life a lot simpler. It reduces the key clutter, makes spare-key planning easier, and turns the morning routine into less of a scavenger hunt. That “one key convenience” sounds like a small luxury until you live with it for a while. Then it starts to feel like basic human dignity.
There is also a practical security lesson here: many people wait too long. They move in, promise themselves they will rekey “this weekend,” and then spend six months sharing access with previous owners, contractors, cleaners, neighbors, or mystery key-holders from history. Rekeying tends to feel urgent only after a key goes missing. In reality, the best time to do it is usually before anything weird happens.
Finally, the most successful rekeying experiences usually have one thing in common: realistic expectations. SmartKey is convenient, but it still requires careful steps. Traditional rekeying is DIY-friendly, but it is not a race. If you go slowly, verify the lock type, use the correct kit, and test everything with the door open, the project usually ends with a smoother lock and better peace of mind. If you improvise wildly, ignore the instructions, and declare victory after one half-hearted turn of the key, the lock may respond with the kind of silence that makes a locksmith’s phone ring.
Conclusion
Rekeying a Kwikset lock is one of those rare home projects that can be both practical and satisfying. If you have a Kwikset SmartKey model, the job is often quick and straightforward as long as you have the current key, the learn tool, and a little patience. If you have a traditional pin and tumbler knob, the process is more hands-on, but still very manageable with the right rekey kit and a careful setup.
The big takeaway is simple: identify the cylinder first, use the correct method, and test with the door open every single time. Do that, and you can upgrade your home’s key control without replacing perfectly good hardware. Not bad for a project that mostly asks for a screwdriver, a key, and the emotional maturity to respect small moving parts.