


Want to build wealth without chasing hype? This in-depth guide to 'Investing Hub - Get Rich Slowly'...
Not sure which Robitussin product fits your cold or flu symptoms? This guide explains the difference between...
Search results are no longer just ten blue links. They are a fast-moving mix of organic listings,...
Tas Yard Café in Tokyo is a quiet design-lover’s retreat in Sendagaya, near Kita-Sando and Harajuku. Blending...
Saying “um” is normal, but too many filler words can weaken your message and distract listeners. This...

Who is TDanny? In most music searches, it points to T. DannyBudapest-born rapper-singer known for melodic hooks,...
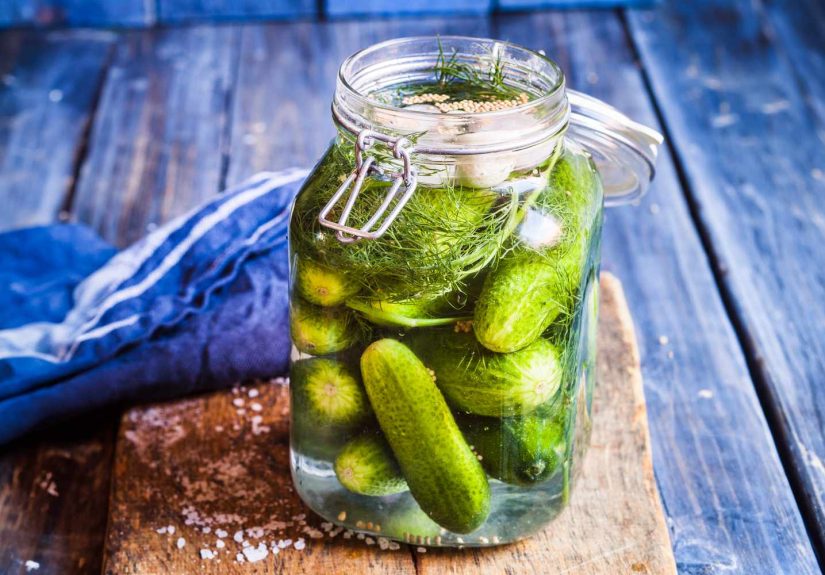
Want crisp, tangy homemade pickles without turning your kitchen into a canning boot camp? This guide breaks...

Confused by the cold medicine aisle? This in-depth guide explains what decongestants, antihistamines, cough suppressants, expectorants, and...

Is prison really better than your life? Not literallybut this sharp, funny article explores why prison routines,...

The Big “I” participation in the 199A roundtable discussion was more than an insurance industry headline. It...