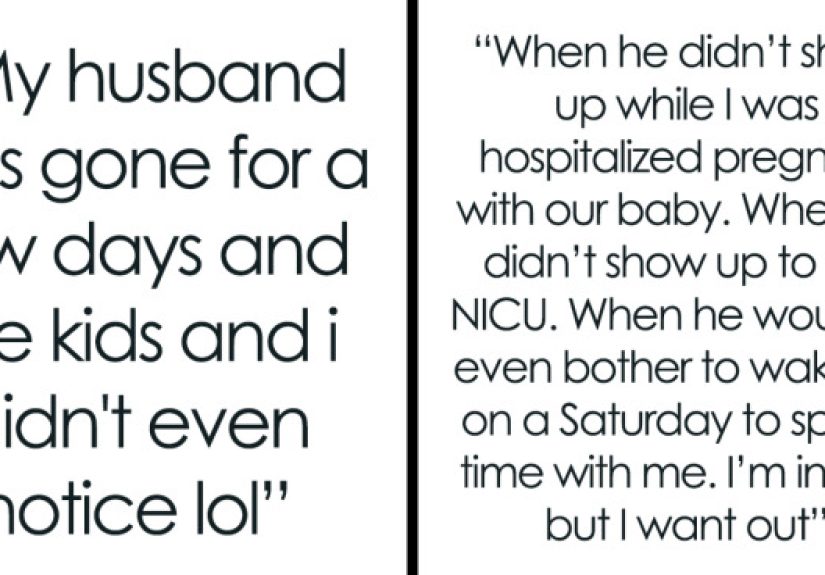


What makes a woman finally leave an unbalanced relationship? Usually, it is not one giant fight. It...
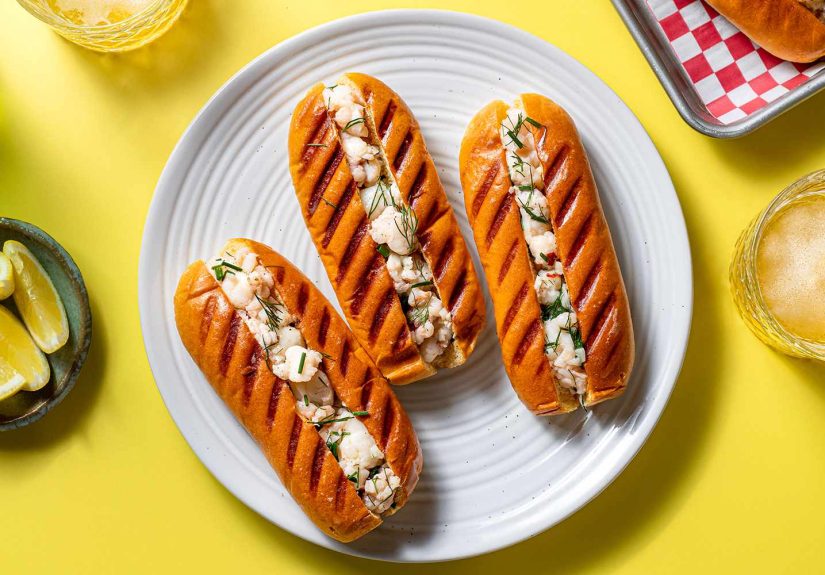
This buttery lobster roll recipe turns a coastal favorite into an easy, restaurant-worthy meal at home. Learn...
Moving forward and moving on sounds simple until life asks you to do it for real. This...
History is full of objects that seem to show up centuries too early. This article explores 10...
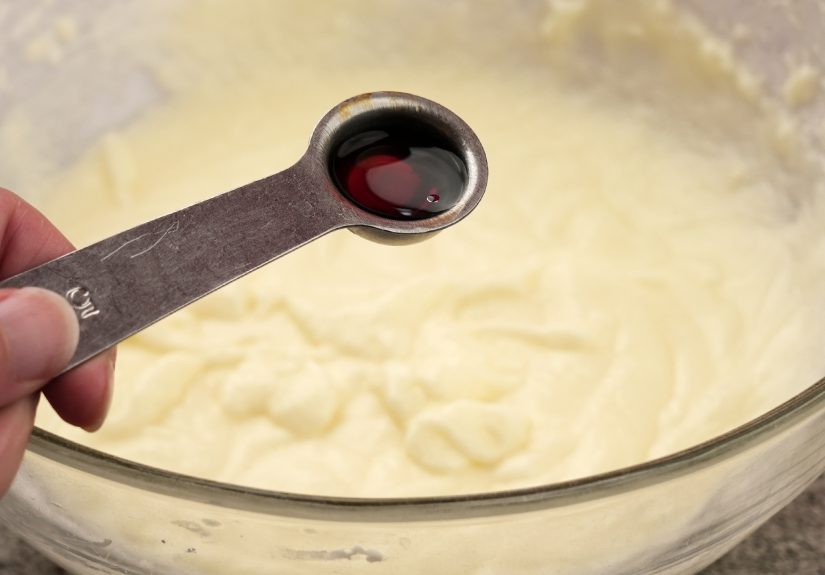
Want bakery-style cake icing without the bakery bill? This guide shows you how to make classic buttercream,...
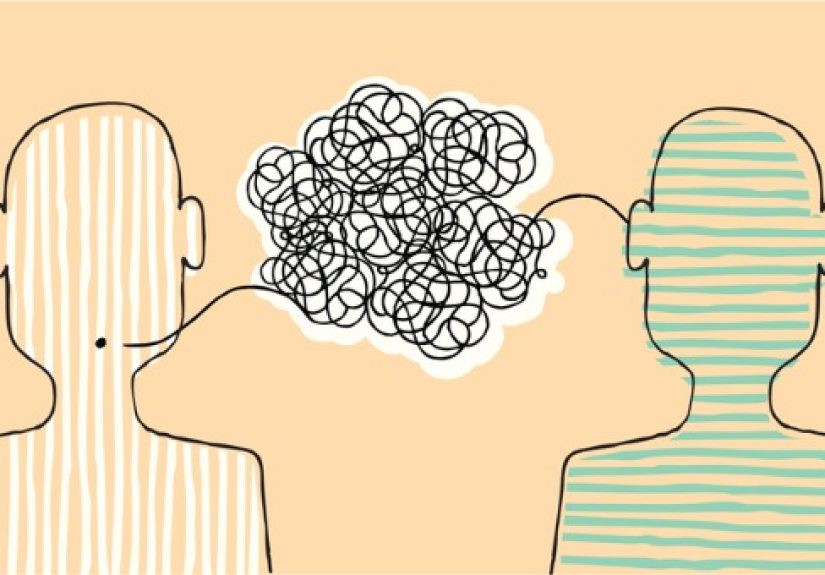
Listening to student learning is one of the smartest moves an educator can make. This article explores...
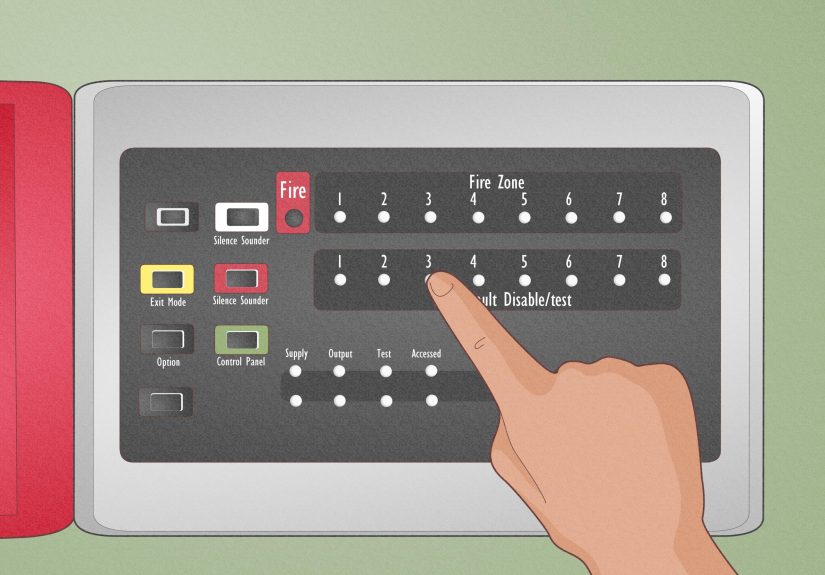
Searching for how to disable a fire alarm? The safer answer is knowing how to stop nuisance...

Thinking about upgrading your king bed with linen? This in-depth guide breaks down what makes Hawkins New...
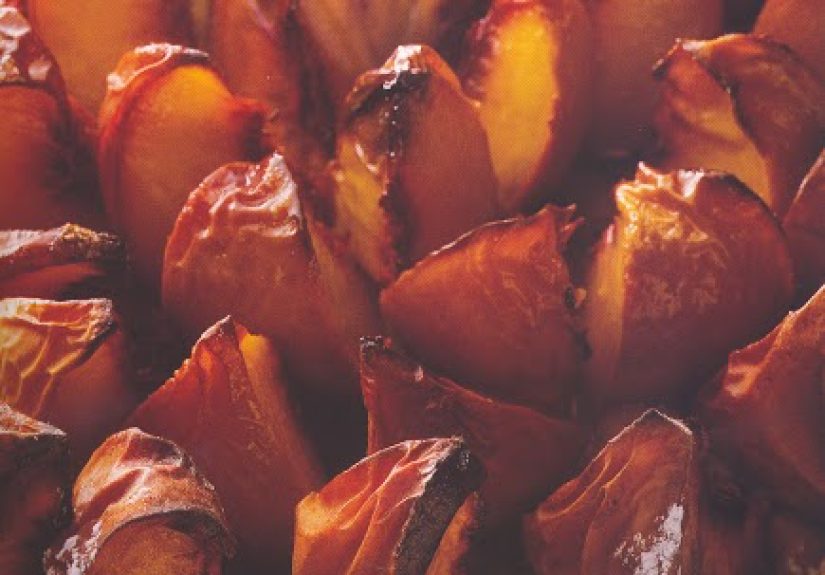
Rustic peach tart is the easy summer dessert that tastes like a cross between a pie and...

What happens when a stack of paper meets a big artistic idea? In this in-depth story, I...