Table of Contents >> Show >> Hide
- Why Spray Paint Works So Well on Faux Pumpkins
- What “THIS” Can Look Like
- Supplies You Need
- How to Transform a Dollar Store Pumpkin With Spray Paint
- Step 1: Clean the Pumpkin Like It Has Been Through Something
- Step 2: Sand Glossy Areas Lightly
- Step 3: Set Up a Safe Painting Area
- Step 4: Prime if Necessary
- Step 5: Apply the First Coat Lightly
- Step 6: Let It Dry and Add More Coats
- Step 7: Add Dimension if You Want a Custom Look
- Step 8: Seal It if You Plan to Reuse It Often
- Step 9: Style It Like You Paid Too Much for It
- Best Color Ideas for a High-End Pumpkin Makeover
- Mistakes to Avoid
- Creative Ways to Upgrade the Pumpkin Even More
- Why This DIY Feels So Satisfying
- Real-Life Experiences and Lessons From Doing This Project
- Conclusion
- SEO Tags
There are two kinds of fall decorators in this world: the ones who casually toss a pumpkin on the porch and call it “seasonal,” and the ones who look at a flimsy dollar store pumpkin and whisper, You’re about to become fabulous. This article is for the second group.
If you have ever wandered into a dollar store, spotted a lightweight faux pumpkin, and thought, “Cute, but also aggressively inexpensive,” good news: spray paint can fix that. With the right prep, color choice, and a little patience, you can turn a bargain-bin pumpkin into a high-end centerpiece that looks like it came from a boutique home store with suspiciously tiny price tags and very confident lighting.
The secret is not spending more money. The secret is making a cheap pumpkin look intentional. A soft matte finish can make it look modern. A metallic coat can make it look glamorous. A stone-textured finish can make it look like something a designer casually placed on a reclaimed wood console while saying words like “curated” and “organic silhouette.”
In this guide, you will learn how to transform a dollar store pumpkin with spray paint, which finishes work best, how to avoid drips and disappointment, and how to style the final result so it looks far more expensive than it has any right to. Your pumpkin’s glow-up starts now.
Why Spray Paint Works So Well on Faux Pumpkins
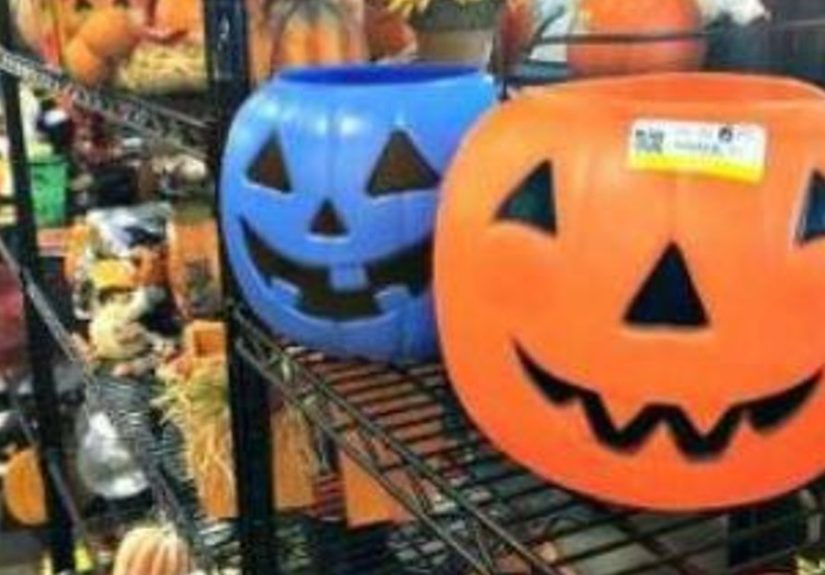
Dollar store pumpkins are usually made from lightweight foam or plastic. That is actually great news for a DIY makeover because these materials are easy to clean, easy to handle, and much easier to paint than a real pumpkin that is slowly racing toward mush. Spray paint gives you smooth coverage, helps you reach all those pumpkin ridges, and creates a finish that looks more polished than a brush-painted surface when done correctly.
It is also incredibly versatile. Want a neutral pumpkin for a modern farmhouse table? Done. Want a black pumpkin with a moody matte finish? Absolutely. Want a champagne-gold pumpkin that looks like it belongs next to a candle collection and a dramatic throw blanket? You are speaking the language of spray paint.
Best of all, faux pumpkins last for years. That means this is not just a one-season craft. It is reusable fall decor, which is a much nicer phrase than “I am emotionally attached to my painted pumpkin collection.”
What “THIS” Can Look Like
The beauty of this project is that “THIS” can mean several designer-inspired looks. Here are the most popular directions for a dollar store pumpkin makeover:
1. Matte Designer Pumpkin
Choose matte white, cream, taupe, black, sage, or greige. This look is clean, modern, and easy to style with almost any home decor. It is the pumpkin equivalent of wearing a great neutral trench coat.
2. Metallic Boutique Pumpkin
Gold, bronze, copper, and champagne finishes instantly elevate a basic pumpkin. Metallic spray paint catches the light beautifully and works especially well for mantels, entry tables, or Thanksgiving centerpieces.
3. Stone or Textured Pumpkin
If you want your pumpkin to look expensive-expensive, a textured stone finish is a smart move. It adds depth, hides imperfections, and gives the pumpkin a sculptural feel that looks far more custom than crafty.
4. Ombre or Layered Pumpkin
Lightly layering two or three colors can create a soft custom finish. Think ivory fading into beige, terracotta fading into blush, or black topped with bronze highlights. This adds visual interest without making your pumpkin look like it lost a fight with a rainbow.
Supplies You Need
- 1 or more dollar store faux pumpkins
- Spray paint in your chosen finish
- Plastic-friendly primer if needed
- Fine-grit sandpaper or sanding sponge
- Mild soap and water
- Clean cloth or paper towels
- Painter’s tape if you want patterns or color blocking
- Drop cloth, cardboard, or a protected work surface
- Optional clear top coat for extra durability
- Optional embellishments like ribbon, faux leaves, stems, or rub-on details
Before you begin, check the spray paint label to make sure it is suitable for plastic or multi-surface use. Some pumpkins take paint beautifully right away, while others benefit from a primer first. If the surface is very glossy, a light sanding helps the paint stick better.
How to Transform a Dollar Store Pumpkin With Spray Paint
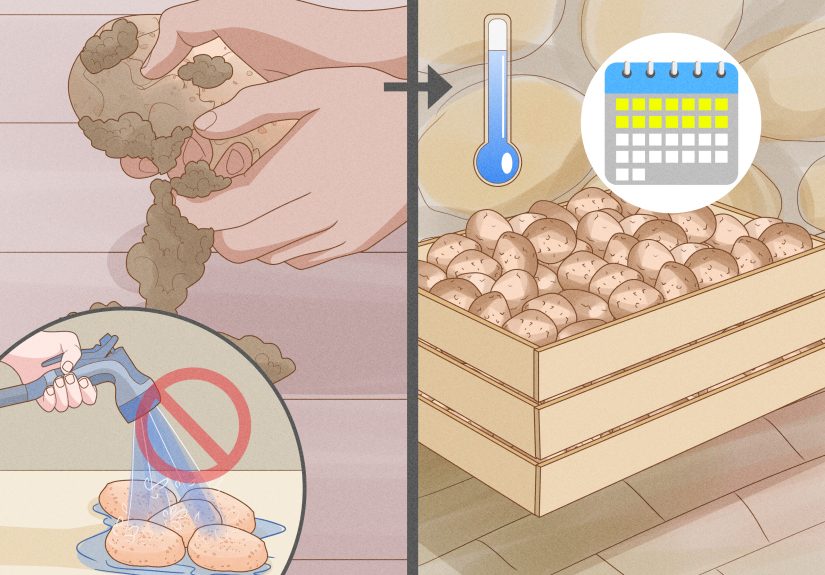
Step 1: Clean the Pumpkin Like It Has Been Through Something
Even a brand-new faux pumpkin can have dust, oils, or a slightly slick finish that makes paint less likely to behave. Wipe it down with mild soap and water, rinse if needed, and let it dry completely. This is not the glamorous part, but it is the part that helps prevent the “why is the paint peeling off in one weird sheet?” moment later.
Step 2: Sand Glossy Areas Lightly
If the pumpkin has a shiny, slippery finish, lightly scuff it with fine-grit sandpaper. You are not trying to destroy it. You are just creating a little texture so the primer or paint has something to grip. Focus on smooth high points and any places where the finish looks especially slick.
Step 3: Set Up a Safe Painting Area
Spray outdoors or in a well-ventilated space that is appropriate for spray painting. Protect your surface with cardboard, a drop cloth, or a large box. Overspray has a magical ability to land exactly where you did not want it, so cover more space than you think you need.
Step 4: Prime if Necessary
If your pumpkin is plastic, very glossy, brightly colored, or you want a flawless finish, use a primer designed for the surface. This is especially helpful when you are changing from bright orange to white, cream, or another lighter shade. A primer creates a more even base and saves you from applying half a can of paint just to hide pumpkin enthusiasm.
Step 5: Apply the First Coat Lightly
Now for the fun part. Shake the can well and spray in smooth, sweeping passes. Start slightly off the pumpkin, spray across it, and continue past the edge. Do not stop directly on the surface unless your goal is “mysterious paint blob.” Light coats are your best friend. Heavy coats lead to drips, pooling, and instant regret.
Turn the pumpkin as you work so you can reach all the grooves and curves evenly. If the pumpkin has a removable stem, consider painting it separately for a cleaner finish.
Step 6: Let It Dry and Add More Coats
Patience is what separates a chic pumpkin from a sticky one. Let the first coat dry according to the label, then add a second or third light coat as needed. Most faux pumpkins look dramatically better with multiple thin coats than one thick coat. The finish becomes smoother, more even, and much more expensive-looking.
Step 7: Add Dimension if You Want a Custom Look
This is where a basic pumpkin starts feeling special. You can keep the entire pumpkin one color, or add subtle detailing like:
- A second color misted from farther away for an ombre effect
- Metallic highlights just on the ridges
- A darker stem for contrast
- Painter’s tape stripes or geometric blocks
- A textured top coat for a stone-like finish
Little details make a huge difference. A white pumpkin with a warm gold stem feels curated. A black pumpkin with bronze dusting feels dramatic. A beige pumpkin with a stone-texture spray says, “Yes, I absolutely have opinions about coffee table styling.”
Step 8: Seal It if You Plan to Reuse It Often
If your pumpkin will live indoors, you may not need a clear top coat. But if you want extra durability, are stacking pumpkins, or plan to use them year after year, a compatible clear sealer can help protect the finish. Matte sealers preserve a soft designer look, while gloss sealers add shine. Just make sure the finish matches your vision and does not accidentally turn your elegant pumpkin into something that looks shellacked.
Step 9: Style It Like You Paid Too Much for It
Once the paint is fully cured, it is time for the reveal. Style your pumpkin with candles, books, dried stems, lanterns, or a tray arrangement. Grouping pumpkins in different sizes and finishes makes even simple colors look intentional. One pumpkin is cute. Three pumpkins in coordinated finishes? That is a design choice.
Best Color Ideas for a High-End Pumpkin Makeover
If you are staring at a wall of spray paint and suddenly forgetting every color you have ever seen, here are some foolproof ideas:
Soft Neutrals
White, cream, ivory, taupe, mushroom, greige, and soft sage are excellent for minimalist or modern homes. They look calm, clean, and expensive without trying too hard.
Warm Metallics
Champagne gold, brushed bronze, copper, and antique gold feel festive without screaming “party store aisle.” These work beautifully for dining tables and mantels.
Moody Tones
Matte black, charcoal, deep olive, navy, and plum create a dramatic fall vibe. Pair them with lighter pumpkins for contrast.
Textured Finishes
Stone, cement, weathered metal, and speckled finishes are ideal if you want the pumpkin to look more sculptural than seasonal. This style works especially well in modern rustic or organic-inspired spaces.
Mistakes to Avoid
Using Too Much Paint at Once
This is the classic spray paint mistake. If the coat looks wet and heavy, it is probably too much. Light passes win every time.
Skipping Prep
Paint does not love dust, grease, or glossy plastic. A few minutes of prep can save the entire project.
Handling It Too Soon
Just because it looks dry does not mean it is fully ready. Let the finish cure before stacking, decorating, or dramatically showing it off like it belongs in a magazine.
Choosing the Wrong Finish for the Space
A glittery pumpkin can be fun, but if your goal is a refined, upscale look, matte, satin, metallic, or stone finishes are usually stronger choices.
Creative Ways to Upgrade the Pumpkin Even More
- Wrap velvet ribbon around the stem
- Add gold leaf accents to the ridges
- Glue on faux florals for a centerpiece pumpkin
- Use rub-on letters for a subtle monogram
- Stack two pumpkins for a topiary effect
- Cluster several painted pumpkins in a wood bowl or tray
The trick is restraint. One or two elegant details look intentional. Twelve extras can start edging into “craft store blackout.” Let the spray-painted finish do the heavy lifting.
Why This DIY Feels So Satisfying
There is something deeply satisfying about taking a cheap object and making it look elevated. It feels clever, creative, and slightly rebellious. You are refusing to believe that beautiful decor has to be expensive, and honestly, that is a pretty great fall energy.
This project also works because it is approachable. You do not need advanced tools, complicated skills, or a reality-show craft room. You just need a faux pumpkin, a plan, and enough self-control not to spray the second coat two minutes after the first because you got impatient. Growth is beautiful.
Real-Life Experiences and Lessons From Doing This Project
The first time I tried transforming a dollar store pumpkin with spray paint, I made the classic beginner mistake of underestimating the pumpkin. It looked so light and harmless that I assumed one fast coat of white spray paint would magically turn it into a dreamy designer piece. Instead, it turned into a streaky, tacky little object that looked confused about its purpose in life. That was the day I learned the golden rule of spray paint: slow down, use light coats, and let the finish build gradually.
On the second attempt, everything changed. I cleaned the pumpkin properly, lightly sanded the shiny spots, and used a much softer hand with the spray paint. Suddenly the surface looked smoother, the color looked richer, and the pumpkin started to resemble something you would actually want to display on a coffee table. It was not just painted. It looked finished. That difference matters.
One of the best experiences with this project is how customizable it is. I have seen people go in a modern direction with matte black and cream pumpkins, and I have seen others lean fully into glam with champagne gold and copper. My favorite version was a soft stone-beige pumpkin with a darker stem. It looked simple, but in the best possible way. Visitors assumed it came from a home decor store, which is always the dream when your actual shopping journey involved fluorescent lights and a plastic basket.
Another lesson I learned is that styling matters almost as much as painting. A painted pumpkin sitting alone on a random surface can still look like a craft project. But place that same pumpkin on a tray with a candle, a small stack of books, and a vase of dried stems, and suddenly it becomes decor. Context is powerful. Pumpkins, like people, do better with good lighting and supportive company.
I also discovered that cheap pumpkins are great for experimentation. Because the base item is inexpensive, there is less pressure. You can test matte finishes, layered tones, textured sprays, or metallic stems without feeling like you are ruining something precious. If a look does not work, you can repaint it. Faux pumpkins are surprisingly forgiving, which makes them perfect for creative trial and error.
The most memorable result came from painting three pumpkins in related shades instead of just one. I used matte cream, warm taupe, and brushed gold. Grouped together, they looked far more polished than any single pumpkin on its own. That experience taught me a simple decorating truth: repetition creates intention. When you repeat a finish or a color family, the whole display feels more cohesive and more expensive.
What I appreciate most about this DIY is that it delivers a fast visual payoff. You do not need to wait days to enjoy the transformation. Within one afternoon, a plain dollar store pumpkin can go from obviously cheap to genuinely charming. It is one of those rare home projects that is affordable, easy to personalize, and surprisingly stylish. In a season full of impulse decor buys, that feels like a win.
Conclusion
If you want affordable fall decor that looks custom, transforming a dollar store pumpkin with spray paint is one of the smartest DIY projects you can try. It is simple, budget-friendly, and flexible enough to suit nearly any style, from modern minimalism to warm farmhouse to dramatic autumn glam.
The key is treating the project like a makeover, not a shortcut. Clean the surface, use the right paint, build the finish in thin layers, and choose colors that match the mood you want. Do that, and your humble little pumpkin can become the kind of piece that makes people ask where you bought it. At which point you may smile mysteriously and say, “Oh, this old thing?”