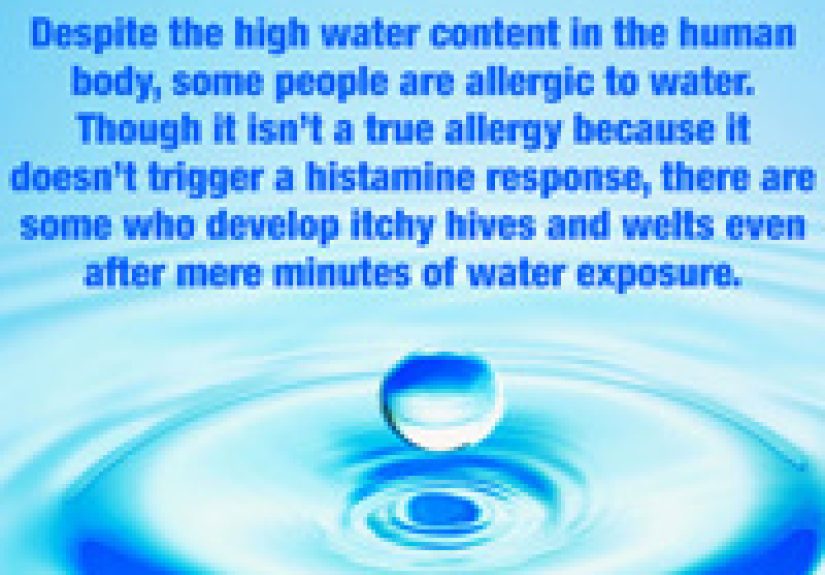


Some diseases sound too bizarre, brutal, or surreal to be real, yet history and medicine say otherwise....
Creating a treatment plan for early-stage breast cancer can feel overwhelming, but it becomes more manageable when...
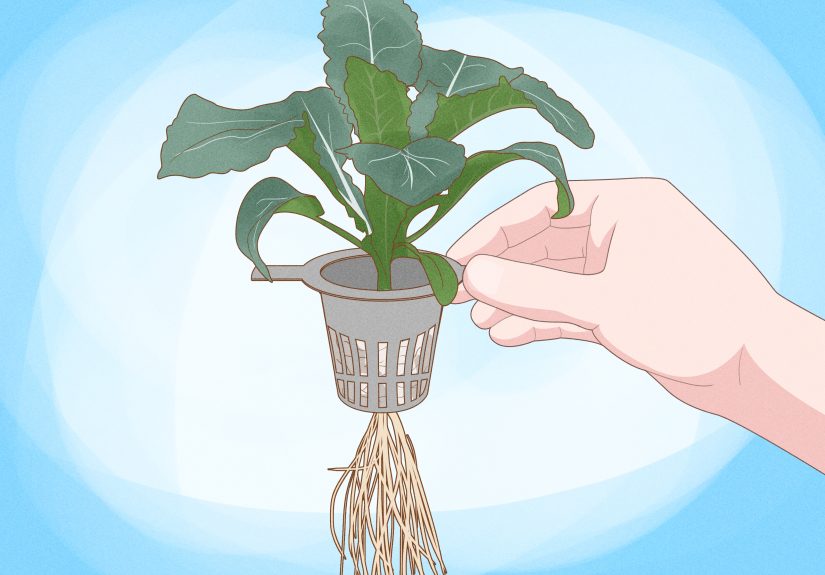
Hydroponics may sound high-tech, but beginners can start with a simple bucket, clean water, nutrients, light, and...
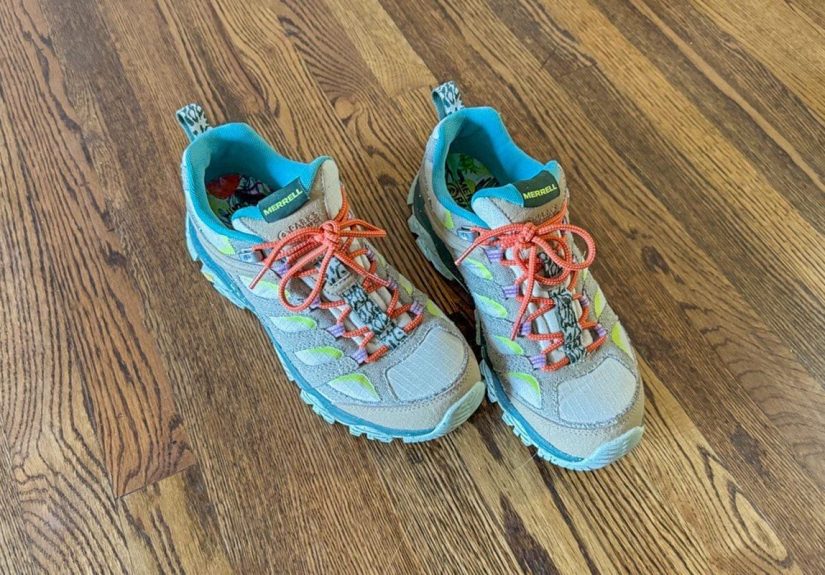
Merrell’s Parks Project collaboration brings real trail performance, playful national park-inspired design, and a sustainability-minded story into...
Michael Kors’ Jacquelyn Medium Chain Tote is getting attention for good reason. This medium-size tote blends polished...
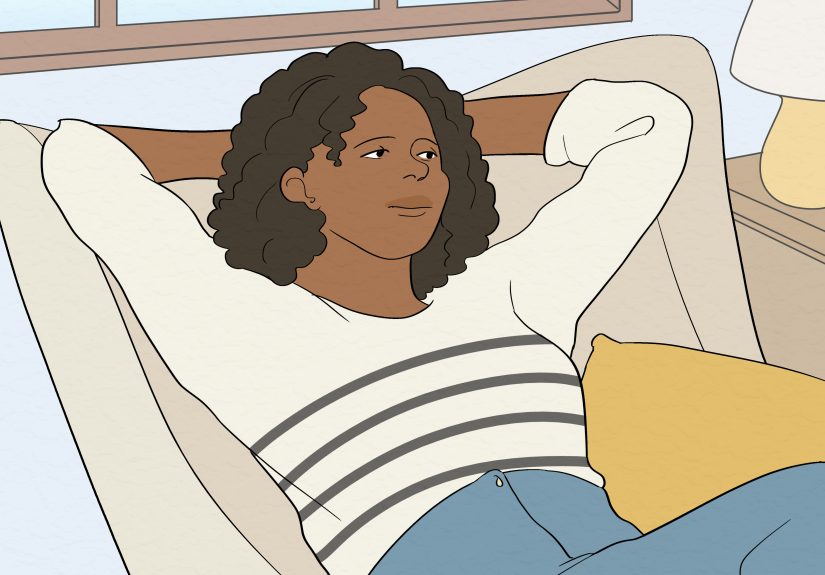
Helping someone quit marijuana is not about lectures or panic. It is about smart support, honest conversations,...

Looking for festive decor without the holiday spending spree? This in-depth guide to Easy Quick Christmas Craft...
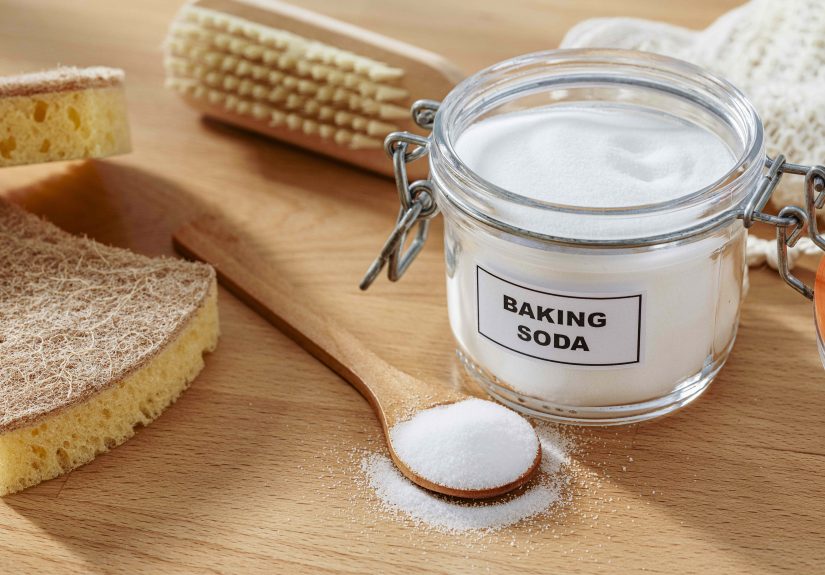
Baking soda has a reputation for fixing everything, but can it really solve a mouse problem? This...
Some kitchen appliance trends are aging faster than the avocados on your counter. Designers say 2026 is...
Worried about how to prepare for a nuclear emergency without falling into panic or internet myths? This...