

Hormones do more than influence mood, energy, and metabolism. They can also change how your gums react...
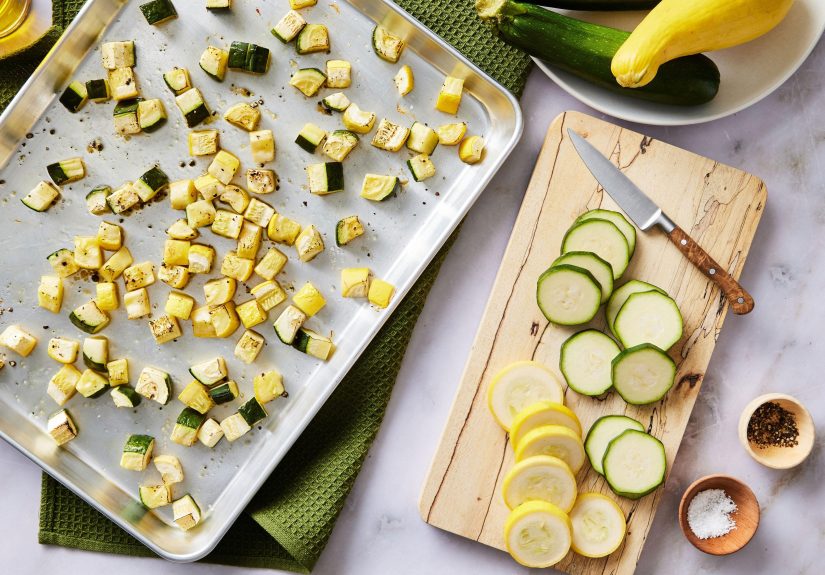
Summer squash is one of the easiest vegetables to loveonce you know how to cook it without...
Your financial situation isn’t determined by numbers aloneit’s shaped by the story your brain tells about those...
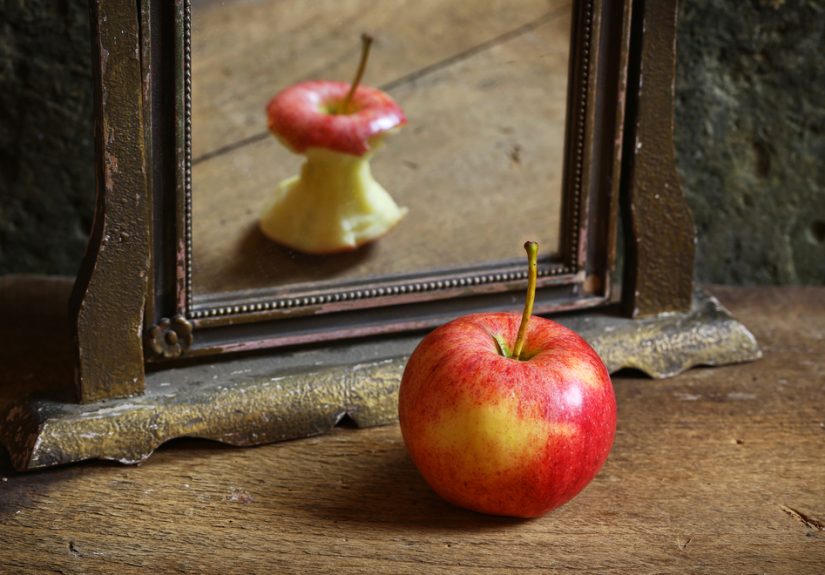
Aversion therapy is one of psychology’s most debated treatments. This in-depth guide explains how it works, where...
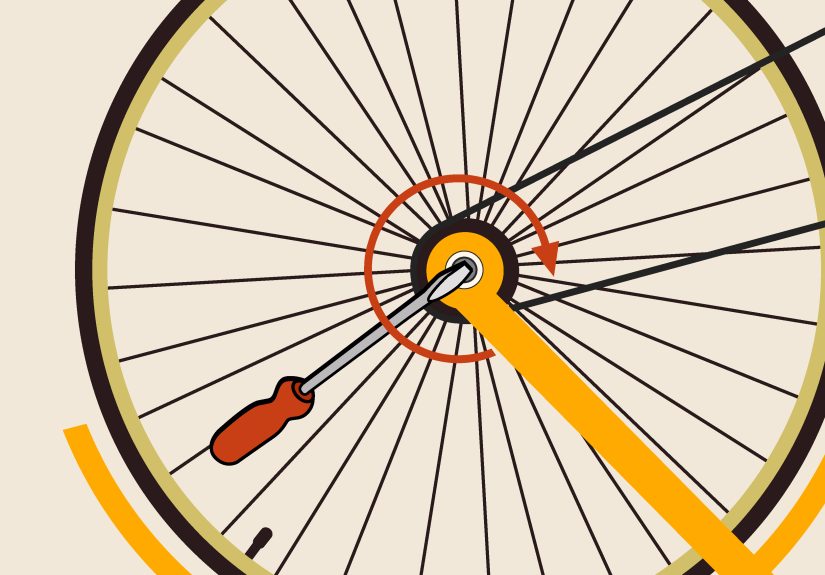
A flat tire does not have to ruin your ride. This in-depth guide explains how to replace...

Will there be a Season 3 of The Way Home? Yesand the answer is even bigger now....

Not sure whether to use your current name, former name, or both on your resume? This guide...

Messy cabinets can turn even a simple meal into a scavenger hunt. This in-depth guide on how...

Baby quasars may be the missing link astronomers need to explain how supermassive black holes grew so...

This in-depth guide breaks down the design logic behind a communal family kitchen inspired by a Brooklyn...