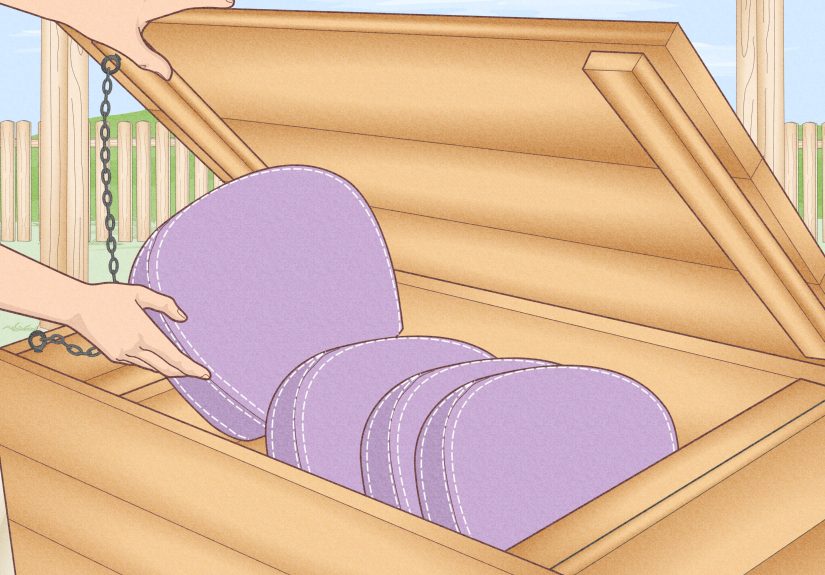


Tired of chasing patio cushions across the yard every time the wind picks up? This guide breaks...
Pumpkins are berries. Sharks are older than trees. Cleopatra lived closer to us than to the Great...
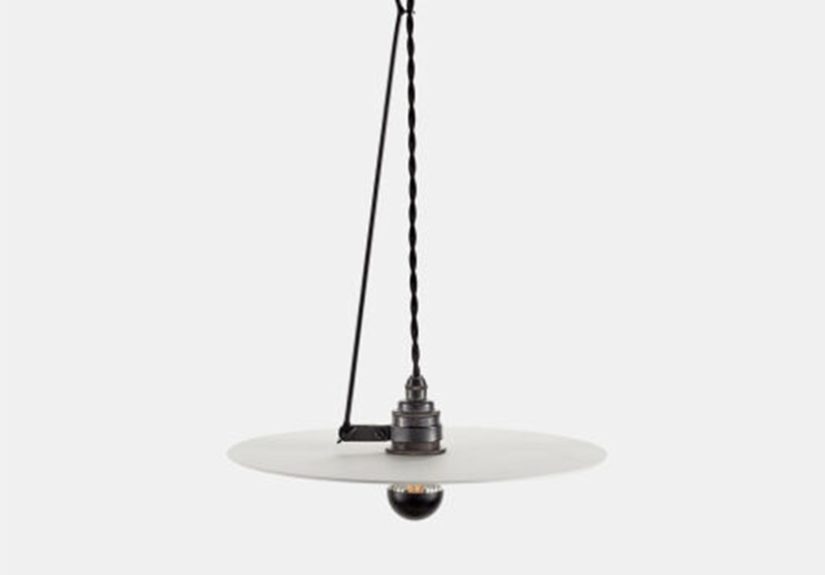
The Luna L1 Pendant Lamp is a sculptural porcelain pendant by Ann Demeulemeester for Serax, designed to...
Where have your feet taken you? This thoughtful, fun, and practical article explores the surprising power of...
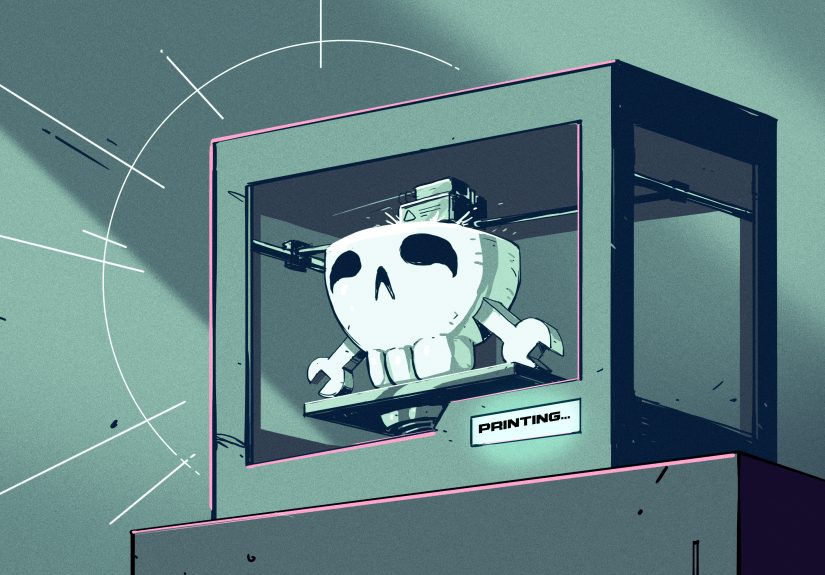
Color 3D printing has grown from a flashy prototype trick into a serious tool for design, healthcare,...

Amazon’s Kindle Paperwhite lineup keeps hitting the sweet spot for readers, and Cyber Monday pricing makes the...

Want the cool, sketchy look of a Sharpie tattoo without the skin drama? This guide breaks down...
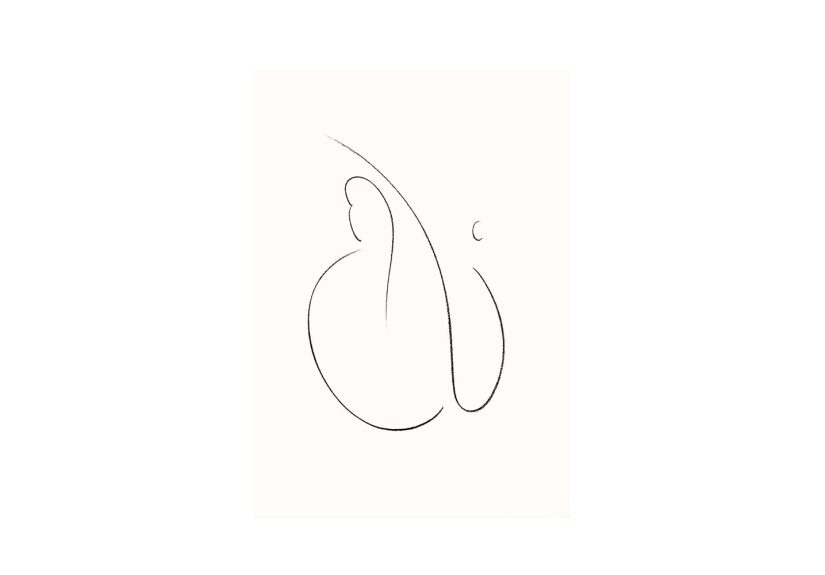
Charcoal Line Drawing 01 is a practical, beginner-friendly guide to creating expressive art with one of the...

What is Bivigam, and who actually needs it? This in-depth guide explains how Bivigam works for primary...
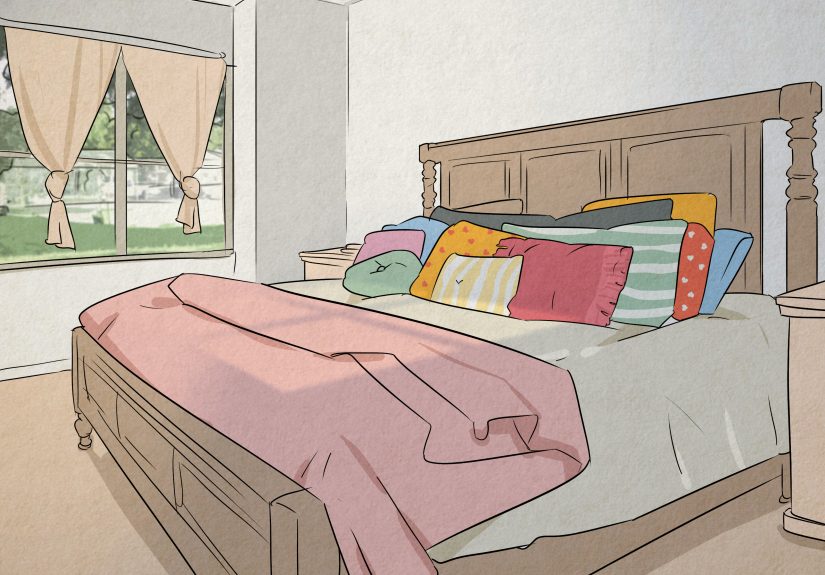
Your bedroom is more than a place to sleepit is a snapshot of your habits, priorities, stress...