


This heartfelt feature explores the viral 15-photo love story of an elderly Vietnamese couple whose bond was...
This article unpacks the powerful podcast conversation with Olympic gold medalist Carrie Bates, tracing how elite success,...
Some actors laugh about their worst casting decisions. Others talk about them like old scars that still...
Looking for the perfect DIY Christmas wreath? This in-depth guide shares 56 creative wreath ideas for every...
Could an eye scan help spot heart trouble before symptoms begin? New research suggests the retina’s tiny...

Myasthenia gravis symptoms can fluctuate, so judging treatment success takes more than a gut feeling. This guide...
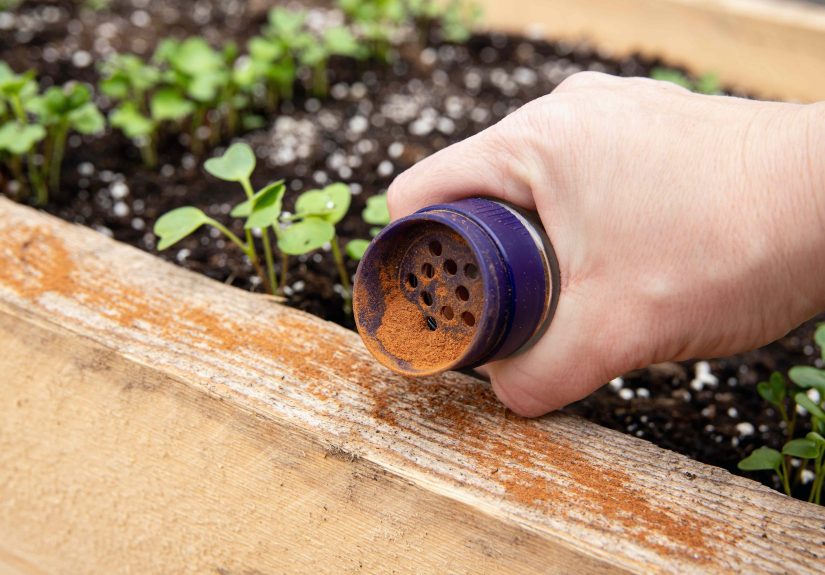
Why are people sprinkling cayenne pepper in their yard? Because this fiery kitchen staple may help deter...

A well-designed brick walkway does more than connect spacesit adds structure, charm, and serious curb appeal. This...

Trade finance may sound complicated, but it comes down to one big goal: helping buyers and sellers...
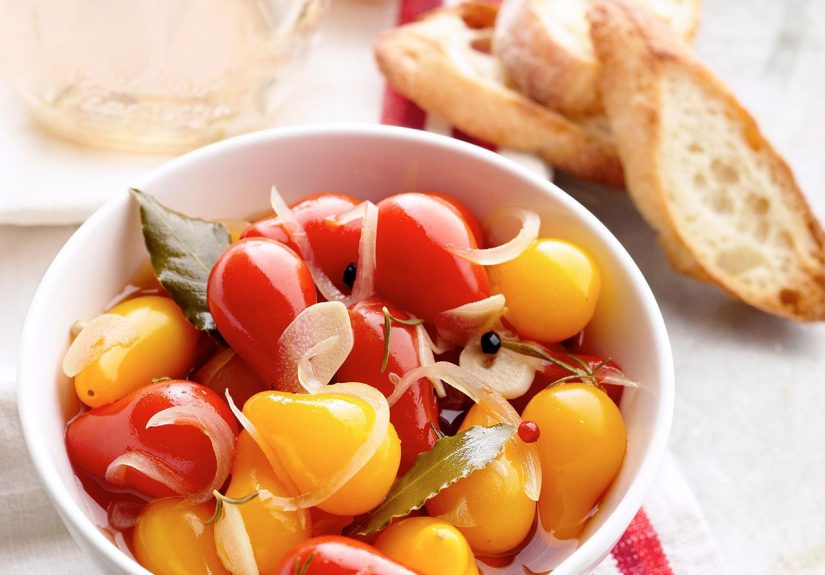
Sweet pear tomatoes, sharp vinegar, fragrant rosemary, and a little garlic magic come together in this irresistible...