


A white tiger already feels unforgettable, but in original scratch art it becomes something even more powerful:...
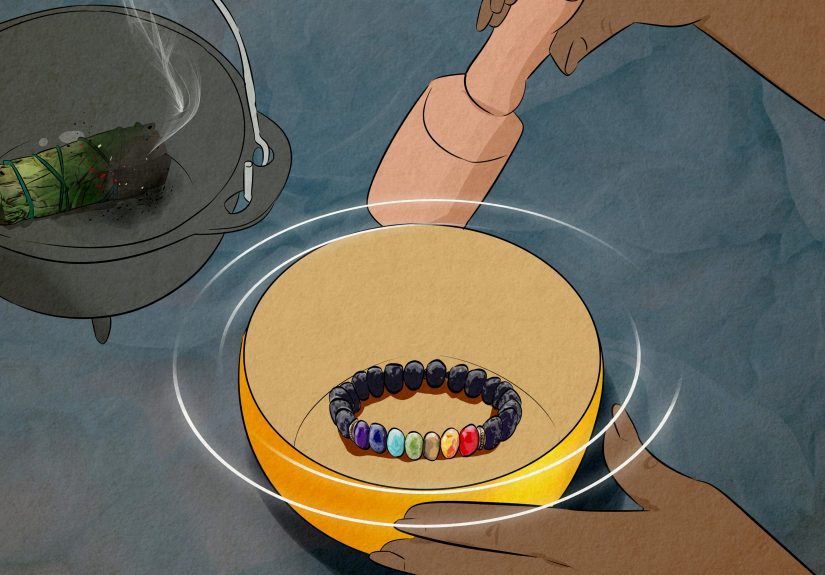
What does a chakra bracelet really mean, and how do you wear one without feeling like you...
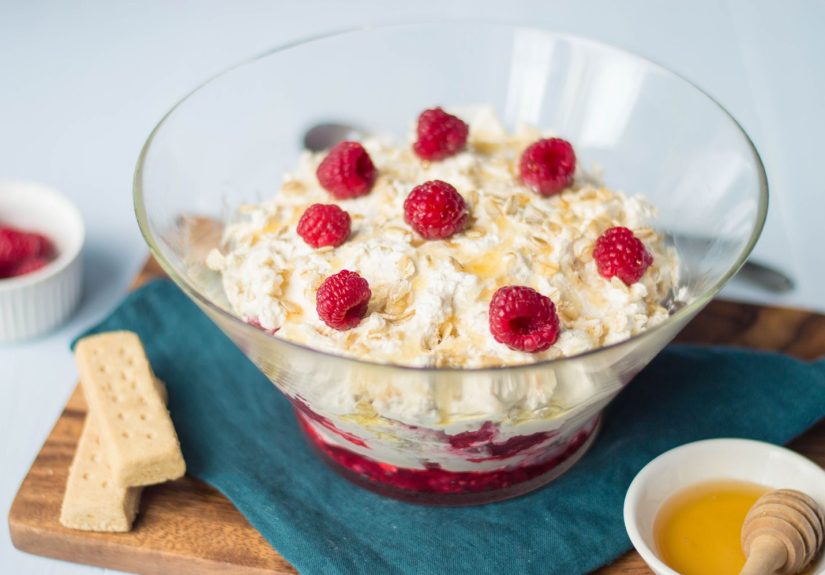
Traditional Scottish cranachan is a creamy, crunchy, raspberry-studded dessert that layers whipped cream, toasted oats, honey, and...
Wondering how to tell if a book is too easy, too hard, or just right? This in-depth...
Nintendo rarely hands out dramatic console discounts, which is exactly why the Switch 2 Pokémon Legends: Z-A...

Are COVID-19 vaccines safe for people with CLL? In most cases, yes. This in-depth guide explains what...

Spring flowers do more than brighten the yard. They announce the season, support pollinators, and turn ordinary...

An old fireplace does not have to sit empty and awkward forever. This article shares 12 cool...

Want stronger online discussions and fewer copy-and-paste replies? This in-depth guide breaks down four practical tips for...