Table of Contents >> Show >> Hide
- Why Asparagus Must Be Pressure Canned (Not Water-Bathed)
- What You’ll Need (Equipment Checklist)
- Ingredients (Simple, On Purpose)
- Choose Your Style: Spears vs. Pieces + Raw Pack vs. Hot Pack
- The Tested Recipe: Step-by-Step Pressure Canning Asparagus
- Processing Times & Pressure by Altitude (Asparagus)
- How to Keep Quality High (So You Actually Want to Eat It)
- Troubleshooting & Safety Checks
- of Real-World Experience Notes (What People Learn After a Few Batches)
- Conclusion: Your Pantry, Upgraded
Fresh asparagus has a tiny seasonal window where it’s everywherefarm stands, grocery displays, your neighbor’s “please take some” porch basket.
Pressure canning is how you turn that short-lived spring obsession into shelf-stable jars you can crack open in October and smugly whisper,
“Yes, I do can my own vegetables. No, I’m not starting a prairie lifestyle account… unless this batch seals on the first try.”
This guide walks you through a tested, safe method for pressure canning asparagus at home, with clear steps, altitude adjustments,
and quality tips so your jars come out tender (not tragic), flavorful (not watery regret), andmost importantlysafe.
Why Asparagus Must Be Pressure Canned (Not Water-Bathed)
Asparagus is a low-acid vegetable. Low-acid foods can support the growth of Clostridium botulinum if they’re not processed correctly.
A boiling-water bath canner can’t reach a high enough temperature to reliably make low-acid vegetables shelf-stable.
A pressure canner is designed to reach the higher temperatures needed for safety.
Translation: water-bath canning asparagus is like wearing flip-flops in a snowstormbold, memorable, and not recommended by anyone who cares about your well-being.
What You’ll Need (Equipment Checklist)
- Pressure canner (dial-gauge or weighted-gauge) large enough for your jars
- Ball/Mason-style canning jars (pints or quarts), new lids, and rings
- Jar lifter, canning funnel, bubble remover/headspace tool (or a non-metal spatula)
- Clean towels, paper towels, and a small bowl of vinegar (for wiping rims if needed)
- Large pot or kettle for boiling water
- Knife and cutting board
Important: A pressure canner is not the same as a small countertop pressure cooker.
For shelf-stable canning, use a true canner and follow the manufacturer’s instructions.
Ingredients (Simple, On Purpose)
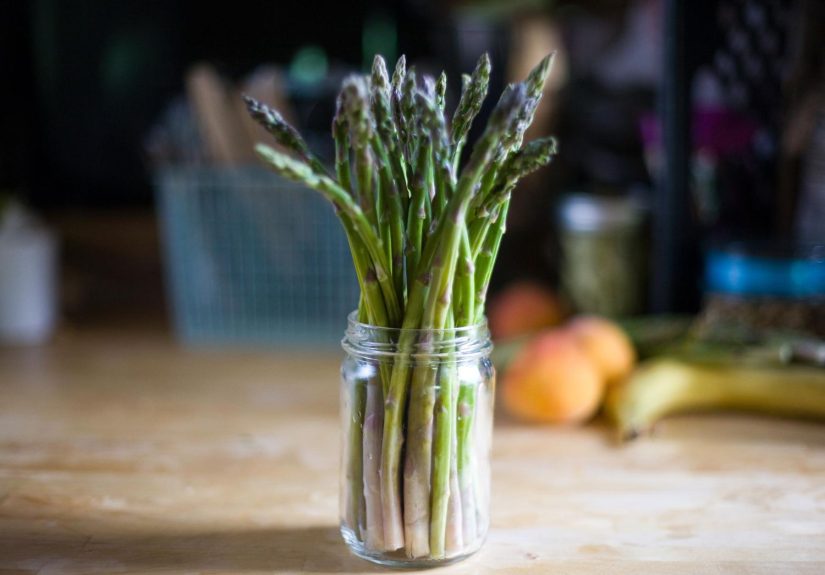
- Fresh asparagus (tender, tight-tipped spears)
- Water (boiling)
- Canning salt (optional) for flavor:
- 1 teaspoon per quart, or
- 1/2 teaspoon per pint
That’s it. No oil, no butter, no “secret family seasoning blend.” Save the fancy stuff for when you open the jar.
Canning is not the time to freestylethis is the part of cooking where following directions is actually cool.
Choose Your Style: Spears vs. Pieces + Raw Pack vs. Hot Pack
Spears or Pieces?
You can can asparagus as whole spears (trimmed to fit jars) or cut into 1-inch pieces.
Spears look pretty and feel fancy. Pieces stack efficiently and are easier for soups, casseroles, and quick skillet sides.
Pick the format you’ll realistically use laterfuture-you will be tired and hungry and deserves convenience.
Raw Pack vs. Hot Pack
Tested guidance allows either method, and the processing time is the same. Here’s how they differ:
- Raw pack: pack raw asparagus tightly into jars, cover with boiling water.
- Hot pack: briefly heat asparagus in boiling water first, then pack and cover with hot water.
Quality tip: Hot pack can help you pack a bit more evenly and may reduce floating.
Raw pack is faster. Neither is “more correct”the correct choice is the one you’ll actually do carefully.
The Tested Recipe: Step-by-Step Pressure Canning Asparagus
-
Prep your workspace.
Clear counters, set out tools, and keep towels handy. Canning is basically a kitchen workout with hot glass.
If you’re new to this, have an experienced adult nearby for supervisionpressure canners deserve respect. -
Wash and trim the asparagus.
Choose tender, tight-tipped spears about 4 to 6 inches long if possible.
Rinse well, trim off tough ends, and remove any tough outer scales. Cut into 1-inch pieces or keep as spears. -
Heat jars and prep lids.
Use clean, hot jars (not cold) to reduce temperature shock. Follow lid manufacturer guidance for preparing lids. -
Make boiling water.
Bring a kettle or pot of water to a boil. You’ll use it for filling jars. -
Choose your pack method.
-
Hot pack: Cover asparagus with boiling water and boil for 2–3 minutes.
Loosely fill jars with hot asparagus. - Raw pack: Fill jars with raw asparagus, packing as tightly as possible without crushing.
-
Hot pack: Cover asparagus with boiling water and boil for 2–3 minutes.
-
Add salt (optional) and fill with boiling water.
Add canning salt if desired (1 tsp/quart or 1/2 tsp/pint). Then add boiling water, leaving
1-inch headspace. -
Remove air bubbles and re-check headspace.
Slide a bubble tool around the inside of the jar to release trapped air. Add more boiling water if needed to return to
1-inch headspace. -
Wipe rims and apply lids.
Wipe jar rims clean (a damp paper towel works well). Place lids on jars and screw rings on to fingertip-tight
(snug, but not Hulk-tight). -
Load the pressure canner.
Add the canner’s required amount of water (per manufacturer). Place jars on the rack so they’re not sitting directly on the bottom.
Lock the lid. -
Vent (exhaust) steam for 10 minutes.
Heat the canner until a steady funnel of steam vents from the port, then vent for 10 full minutes before pressurizing.
This helps push out trapped air so the canner reaches the correct temperature. -
Bring to pressure and start timing.
After venting, apply the weight or close the petcock (depending on your canner).
Bring the canner to the correct pressure for your altitude and start timing only when you’ve reached the target pressure. -
Process for the tested time.
Process pints for 30 minutes or quarts for 40 minutes, maintaining steady pressure the whole time.
If pressure drops below target at any point, you must bring it back up and restart the timing from the beginning. -
Cool the canner naturally.
When time is up, turn off the heat and let the canner depressurize naturally.
Don’t force-cool it (no cold towels, no moving it to the tundra, no blasting it with a fan like it owes you money). -
Wait, then open safely.
Once the canner is fully depressurized, wait 10 minutes, then open the lid away from your face. -
Cool jars undisturbed.
Lift jars straight up (don’t tilt), place on a towel or rack, and let cool 12–24 hours.
Don’t tighten rings after processing. -
Check seals and store.
After cooling, remove rings, test seals, wipe jars, label, and store in a cool, dark place.
If a jar didn’t seal, refrigerate and use soon (or reprocess within a safe window using a new lid).
Processing Times & Pressure by Altitude (Asparagus)
Use the chart that matches your canner type. Processing time is based on jar size; pressure depends on altitude.
If you’re unsure of your altitude, look it up by ZIP code or check a local map resource.
Dial-Gauge Pressure Canner
| Jar Size | Process Time | 0–2,000 ft | 2,001–4,000 ft | 4,001–6,000 ft | 6,001–8,000 ft |
|---|---|---|---|---|---|
| Pints | 30 minutes | 11 psi | 12 psi | 13 psi | 14 psi |
| Quarts | 40 minutes | 11 psi | 12 psi | 13 psi | 14 psi |
Weighted-Gauge Pressure Canner
| Jar Size | Process Time | 0–1,000 ft | Above 1,000 ft |
|---|---|---|---|
| Pints | 30 minutes | 10 psi | 15 psi |
| Quarts | 40 minutes | 10 psi | 15 psi |
Batch planning tip: A canner load often takes a surprising amount of asparagus.
A common estimate is about 3 1/2 pounds per quart, and roughly 24 1/2 pounds for a 7-quart canner load.
(Your yield varies with spear thickness and how aggressively you trim.)
How to Keep Quality High (So You Actually Want to Eat It)
Pick the right asparagus
Tender, tight tips matter. Very thick, older spears can turn fibrous after canning.
If you have thick spears, consider cutting into pieces and using them later in creamy soups, frittatas, or casseroles
where texture is less of a starring role.
Don’t over-pack hot jars like you’re stuffing a sleeping bag
For raw pack you can pack fairly tightly, but avoid crushing spears. For hot pack, fill loosely.
Over-packing can lead to poor liquid circulation and more siphoning (liquid loss).
Salt is optional
Salt in home canning is primarily for flavornot safety. If you’re watching sodium, skip it.
You can always season when you serve.
Expect “canned texture”
Pressure-canned asparagus will be softer than fresh or quick-blanched asparagus. That’s normal.
The win is shelf-stable convenience, not crispy snap.
Use it where tender works: soups, pot pies, egg bakes, pasta, or warmed with butter and lemon.
Troubleshooting & Safety Checks
“Why did my jars lose liquid?”
Liquid loss (siphoning) can happen when pressure fluctuates, jars are packed too tightly, or the canner is cooled too quickly.
As long as the jar sealed and you still have reasonable liquid covering much of the food, it’s usually okay.
Do not open jars after processing to “top them off.”
“One jar didn’t sealnow what?”
If a jar doesn’t seal, you have options:
refrigerate and use it soon, or reprocess using a new lid and following safe reprocessing practices.
(Always prioritize tested guidance and common-sense food safety.)
Know the spoilage red flags
Before opening, look for leaking, bulging lids, or streaks of dried food on the outside.
When opening, watch for spurting liquid, odd odors, or mold. If anything seems off, do not tastediscard safely.
When it comes to questionable jars, your trash can is braver than your stomach.
of Real-World Experience Notes (What People Learn After a Few Batches)
Home canners tend to have the same “first asparagus season” storyline. Batch one starts with heroic optimism:
you line up jars like soldiers, you wash spears like you’re prepping them for a spa day, and you swear you’ll keep perfect pressure.
Then reality arrives… usually in the form of a burner that runs hot, a dial that wiggles, and asparagus tips that float like tiny green life rafts.
One of the most common experiences is discovering that pressure stability matters more than pressure drama.
People often over-correct the heat: pressure rises, they crank it down, it drops, they crank it up, and soon they’re conducting a stove-top orchestra.
The better approach is small adjustments and patience. Once you find the burner setting that holds steady, write it down.
Future-you will appreciate the “sweet spot” note taped inside a cabinet door.
Another classic moment: someone cans quarts because they love a “big jar,” then realizes canned asparagus is usually a supporting actor, not the main character.
Quarts are great for soup nights, holiday casseroles, or feeding a crowd. But for weeknight cooking, pints can be the perfect “use it up” size.
Many experienced canners end up doing a mixed batchpints for everyday meals, quarts for recipes that call for more volume.
It’s not indecisive. It’s strategic.
Texture surprises are also extremely normal. Fresh asparagus has that snappy bite, but pressure canning produces a softer result.
People who expect crunch sometimes feel disappointeduntil they figure out where canned asparagus shines.
It’s fantastic in creamy soups, blended sauces, egg bakes, and skillet meals where tenderness is actually a feature.
Some canners even plan their pantry around this: fresh asparagus for grilling and roasting, canned asparagus for comfort food.
Then there’s the “jar math” lesson. Asparagus looks like a lot… until it’s trimmed, packed, and you realize a canner load can devour a shocking amount of produce.
Many people learn to stage their prep: keep spears chilled, work in batches, and set a realistic goallike “one canner load today.”
Canning becomes much more enjoyable when it’s not an all-day marathon with a soggy kitchen floor and a mystery bruise from the jar lifter.
Finally, seasoned canners develop a deep respect for the cooling phase. It’s tempting to poke, press, tilt, or “just check” the jars.
But the best results come from leaving them alone for 12–24 hours. The seals form as the jars cool, and messing with them can cause failures.
Consider it a life lesson: sometimes the most productive thing you can do is step away and let science finish the job.
Conclusion: Your Pantry, Upgraded
Pressure canning asparagus is a smart way to preserve a seasonal favoritesafely, shelf-stably, and with a little pride every time you hear that
satisfying ping. Stick to tested processing times, adjust pressure for altitude, vent properly, and cool jars patiently.
Do that, and you’ll have jars ready for quick dinners, cozy recipes, and bragging rights that are completely earned.