Table of Contents >> Show >> Hide
- Step 1: Choose your Disney “destination flavor”
- Step 2: Pick dates with crowds, weather, and events in mind
- Step 3: Set a budget that won’t jump-scare you later
- Step 4: Decide your trip length and “must-do” priorities
- Step 5: Book hotel + tickets early (and understand your payment rules)
- Step 6: Learn the “reservation” rules for your destination
- Step 7: Get the apps set up before you arrive
- Step 8: Plan your transportation like a grown-up (even if you don’t feel like one)
- Step 9: Build a “park day skeleton” before you add details
- Step 10: Master dining: reservations, mobile ordering, and snack strategy
- Step 11: Decide if you’ll use Lightning Lane (and plan it like a strategy game)
- Step 12: Check height rules, Rider Switch, and accessibility needs
- Step 13: Know the stroller and bag rules before you pack
- Step 14: Plan rest days and backup plans (because reality exists)
- Step 15: Do a “48-hour check” and a “day-of game plan”
- Quick mini-cheat sheets
- Real-world experiences that make Disney planning “click” (extra ~)
- Conclusion
Planning a Disney vacation is a little like planning a moon landingexcept the astronauts are your family, the
mission control is an app, and the rocket fuel is snack money. The good news? With the right steps, you can
build a trip that feels magical and manageablewithout spending your whole vacation staring at your phone
whispering, “Why is it asking me to pick an arrival window?”
This guide walks you through 15 practical steps (with a few sanity-saving shortcuts) for planning a Disney trip
to Walt Disney World or Disneyland. You’ll get real planning tactics, specific examples, and a strategy that
works whether you’re a first-timer or a “I can smell a parade coming” veteran.
Step 1: Choose your Disney “destination flavor”
Start by deciding which Disney experience you’re planningbecause “Disney” can mean very different trips.
- Walt Disney World (Florida): Bigger, more parks, more transportation options, more “We need one more rest day.”
- Disneyland Resort (California): More compact, easier park-to-park walking, great for shorter trips.
- Bonus options: Disney cruises, Aulani, Adventures by Disneyamazing, but not the focus of this step-by-step.
Example: If you have 3–4 days total and want minimal “commute time,” Disneyland often fits beautifully. If you want a weeklong
“everything and the kitchen sink” vacation, Walt Disney World is usually the move.
Step 2: Pick dates with crowds, weather, and events in mind
Dates affect everything: ticket price, crowd levels, hotel rates, and how many times you’ll say, “Why is it so hot?”
Look at school calendars, holidays, and seasonal events. Then choose a window that matches your priorities:
fewer crowds, lower prices, or specific festivals.
Tip: Use multiple signals. Official park calendars help, and crowd calendars can offer an estimatejust treat them like a weather forecast:
helpful, not holy.
Step 3: Set a budget that won’t jump-scare you later
The fastest way to stress yourself out is to book the hotel, buy tickets, and then realize you also need
food, transportation, souvenirs, and the world’s most expensive bottle of sunscreen.
Build a simple budget in categories:
- Core: hotel + tickets
- Daily: food + snacks + souvenirs
- Convenience: Lightning Lane (if you choose it), stroller rental, photo package, etc.
- Buffer: 10–15% for “Oops, we didn’t plan for that.”
Example: A family might set a daily “fun money” cap and put it in a prepaid card or separate accountso the budget doesn’t vanish
on Day 1 when someone falls in love with a bubble wand.
Step 4: Decide your trip length and “must-do” priorities
You don’t need to do everything. You need to do the right things for your group. Make a short “Top 5 per person” list
and combine them into a master “must-do” list.
- Thrill-focused? Prioritize big rides early and plan for Lightning Lane strategy.
- Little-kid focused? Prioritize character moments, naps, and shorter waits.
- Food-focused? Build your day around reservations and snack missions.
Step 5: Book hotel + tickets early (and understand your payment rules)
Once you have dates and a budget range, book your lodging and tickets. On-property vs. off-property is a big choice:
on-property can bring perks (like early entry), while off-property can offer more space or lower prices.
Planning reality check: Packages and deposits have timelines. Read the terms for your booking type so you know
when final payment is due and what cancellation rules apply.
Step 6: Learn the “reservation” rules for your destination
This is where Disney planning gets spicy (in a good way… mostly).
Walt Disney World
Theme park reservations are generally not required for date-based tickets, but some admission types
still require them. If your ticket type needs reservations, check availability before you commit to plans.
Disneyland Resort
Disneyland typically requires a park reservation + valid ticket (or pass) for park entry. That means your planning includes
securing reservation dates as well as buying admission.
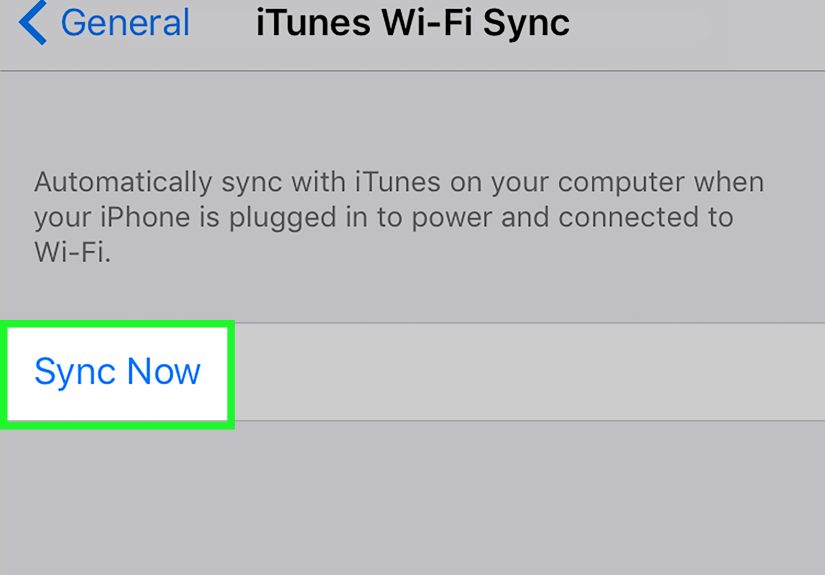
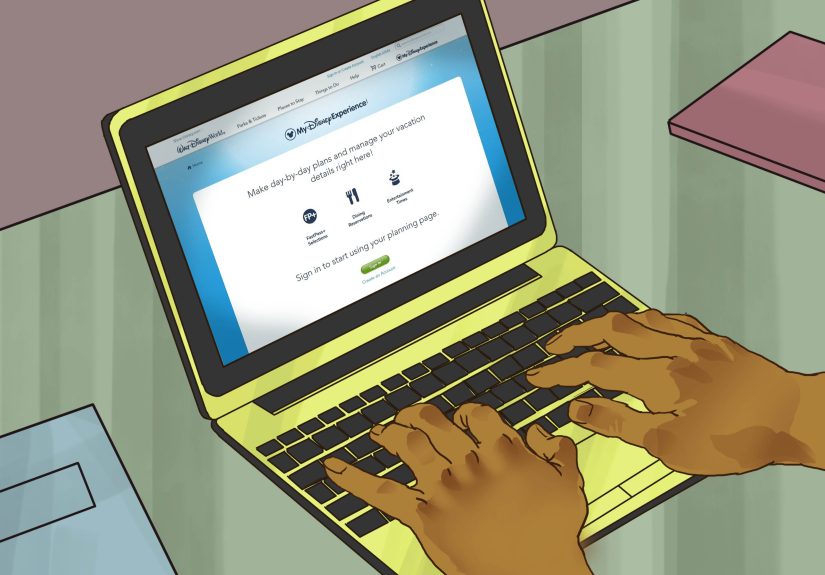
Step 7: Get the apps set up before you arrive
The official apps are your map, schedule, wait-time tracker, mobile food ordering system, and “Where did we put that reservation?” vault.
Install them early, log in, and link everyone’s tickets.
- Walt Disney World: My Disney Experience
- Disneyland: Disneyland app
Pro move: Create a shared “Family & Friends” (or party) setup so one person isn’t trying to manage six tickets like a sleep-deprived air-traffic controller.
Step 8: Plan your transportation like a grown-up (even if you don’t feel like one)
Transportation can make or break your mornings. At Walt Disney World, there’s a large complimentary transportation network
(buses, boats, monorail, and Skyliner), and knowing your options helps you avoid “accidental 45-minute adventure.”
Example: If you’re staying on-site, ask: Is it a bus-only resort? Does it connect to Skyliner? Can we walk to a park?
These answers change your daily schedule.
Step 9: Build a “park day skeleton” before you add details
Don’t schedule every minute. Create a simple structure for each day:
- Morning: 1–2 priority attractions (when crowds are lighter)
- Midday: meal + slower attractions + a break
- Afternoon: shows, characters, or flexible time
- Evening: nighttime entertainment or final ride push
This gives your day a backbone, but still leaves room for surprise magic (and unexpected rain).
Step 10: Master dining: reservations, mobile ordering, and snack strategy
If you want popular table-service meals, plan ahead. Dining reservations open in advance and can disappear quickly for
in-demand experiences. For quick-service, mobile ordering can save time and reduce line-waiting.
Example: Choose one “anchor meal” reservation per day (like lunch or dinner), then keep the rest flexible with mobile order.
That way you’re not sprinting across the park because your family’s hunger arrived 38 minutes early.
Step 11: Decide if you’ll use Lightning Lane (and plan it like a strategy game)
Lightning Lane options can reduce time in standby linesespecially on busy days. If you choose to use it, plan around:
your priority rides, your arrival windows, and whether you’re staying at a Disney hotel (which can affect when you can buy).
Simple approach: Use Lightning Lane for high-demand attractions and use standby for low-wait rides, shows, and “walk-through” experiences.
Step 12: Check height rules, Rider Switch, and accessibility needs
If you’re traveling with kids (or anyone who doesn’t love every ride), checking height requirements ahead of time prevents disappointment
at the entrance. Rider Switch can help adults take turns without everyone paying the “double wait” penalty.
Example: If one child can’t ride a coaster, you can use Rider Switch so one adult rides first while the other waits with the childthen swap.
(Ask a Cast Member at the attraction entrance.)
Step 13: Know the stroller and bag rules before you pack
You can bring bags and plenty of practical items, but Disney has size limits and restrictions. Stroller sizing matters,
and some items (like certain coolers/containers) are restricted.
- Stroller tip: Measure yours before the trip. “It fits in my trunk” is not the same as “it fits Disney rules.”
- Bag tip: Pack a small “park essentials pouch” so you’re not excavating a backpack like an archaeologist every time someone needs a bandage.
Step 14: Plan rest days and backup plans (because reality exists)
The best Disney trips are not the ones with the most stuff. They’re the ones where everyone still likes each other on Day 4.
Plan downtimeespecially at Walt Disney World.
- Rest day ideas: pool time, Disney Springs, resort hopping, a late breakfast, or a shorter park day.
- Backup plans: indoor shows for heat/rain, flexible dining, and a “we’ll do it if we feel like it” list.
Step 15: Do a “48-hour check” and a “day-of game plan”
Two days before departure, do a quick review:
- Confirm tickets/reservations are visible in the app
- Screenshot important confirmations (technology is great… until it isn’t)
- Check park hours and your must-do list
- Set a realistic wake-up plan (yes, this is the hard part)
On park day, keep it simple: arrive early if you can, use mobile order, hydrate, and remember that one “perfect” ride
is not worth a meltdown (yours or your child’s).
Quick mini-cheat sheets
If you’re overwhelmed, follow this “minimum viable plan”
- Pick dates + book hotel
- Buy tickets + learn reservation rules
- Install the app + link tickets
- Reserve 1 meal you really want
- Pick 3 rides per day as your must-dos
Common planning mistakes (and the fix)
- Mistake: Planning every minute. Fix: Build a day “skeleton” and leave gaps.
- Mistake: Ignoring midday fatigue. Fix: Schedule a break like it’s a reservation.
- Mistake: Waiting to learn the app on Day 1. Fix: Set it up at home with snacks and calm.
- Mistake: Overcommitting dining. Fix: One anchor meal + flexible quick-service.
Real-world experiences that make Disney planning “click” (extra ~)
Here’s the part people don’t tell you when you’re planning a Disney vacation: the plan isn’t there to make your trip rigid.
It’s there to make your trip feel free. The best Disney days often have a loose rhythmone or two big wins early,
a comfortable pace through the afternoon, and a “choose your own adventure” vibe at night.
A common experience for first-timers is the “we must do everything” sprint. It usually lasts until about 10:47 a.m.,
when someone realizes they’ve walked three miles and the only breakfast was a granola bar eaten in line. That’s why
a morning strategy matters: pick a couple of high-priority attractions, aim to arrive early, and treat the first two
hours like your power window. You’ll often get more done before lunch than you will in the entire late afternoon.
Another real-life truth: midday breaks are not wasted time. They’re how you buy yourself a happy evening.
Many families find that leaving the park for a restpool time, naps, showers, or even just quietturns everyone from
“crispy” back into “cheerful.” If you stay all day without a break, the evening can feel like dragging a sleepy raccoon
through a gift shop (and yes, the raccoon is sometimes the adult).
Food planning also becomes an experience, not just a logistics problem. When you use mobile ordering for quick-service,
you’ll notice how much smoother the day feels because you’re not stuck in long lines at peak times. Pair that with one
reserved meal (a character meal, a themed restaurant, or a “we’re sitting down like civilized people” dinner), and you get
both structure and flexibility. The “anchor meal” becomes the emotional reset button for the day.
Lightning Lane, when you choose to use it, often feels like a “stress reducer” more than a “do more” tool. The best
experiences come from using it intentionally: reserve it for the rides your group would be genuinely disappointed to miss,
then use standby for everything else that’s lower-wait or just plain charming. The parks are full of hidden winsshows,
walkthroughs, themed areas, small rides with short waitsthat can become your family’s favorite memories.
Finally, the biggest “Disney planning glow-up” is this: you stop chasing perfection and start chasing alignment.
If your group loves thrill rides, plan for thrill rides. If your group loves snacks and vibes, plan for snacks and vibes.
Disney is not a test you pass. It’s a place you experience. And when your plan matches your people, the magic shows up
without you having to wrestle it into a spreadsheet.
Conclusion
Planning a Disney vacation doesn’t have to feel like cramming for an exam. Follow the 15 steps, keep your priorities
honest, and build a trip that leaves space for fun. The goal is simple: fewer surprises that cost time or money, and more
moments that feel like, “Yepthis is why we came.”