Table of Contents >> Show >> Hide
- Before You Touch Anything: Safety and “Don’t Be a Hero” Rules
- Cleaning Kit: What You Actually Need
- The Smart Order of Operations
- Step 1: Dry Dust Removal (Exterior)
- Step 2: Knobs, Buttons, and Faceplates (Where Damage Happens)
- Step 3: Wood Cases and Veneer (Receivers That Look Like Furniture)
- Step 4: Interior Dusting (Optional, But Often Worth It)
- Step 5: Scratchy Volume Knobs and Dirty Switches
- Step 6: RCA Jacks, Speaker Terminals, and Oxidation
- Turntables: Dust Covers, Platters, and the Places Grime Loves
- Cassette Decks: Heads, Capstans, and Pinch Rollers
- Speakers: Cabinets, Grilles, and Delicate Cones
- After Cleaning: Reassembly and Testing
- Maintenance Schedule (So You Don’t Have to Do This Again Next Weekend)
- Real-World Cleaning Experiences (The Extra You Asked For)
- Conclusion
Vintage stereo gear is basically a time machine that smells faintly like warm dust and good decisions. Receivers, turntables, cassette decks, and classic speakers can last decadesbut only if you keep grime, oxidation, and “mystery film” from turning your music into a crackly AM radio audition.
This guide walks you through safe, practical, non-destructive cleaning for vintage stereo equipmentwithout erasing fragile lettering, clouding plastic dust covers, or accidentally creating a new percussion instrument out of your volume knob. (Spoiler: the goal is to hear the music, not the inside of your potentiometer.)
Before You Touch Anything: Safety and “Don’t Be a Hero” Rules
- Unplug the unit and disconnect speakers, turntable leads, and antennas. Let it sit a few minutes before opening covers.
- Avoid the power supply area if you’re not experienced. Some components can hold charge even when unplugged.
- No soaking electronics. Liquids belong on cloths and swabsnot poured into gear like it’s cereal.
- Test first, always. Vintage faceplate text and dial markings can be delicate. Try any cleaner on a hidden spot.
- Take photos before removing knobs or covers. Your future self will thank you.
Cleaning Kit: What You Actually Need
You don’t need a secret laboratory. You need the right basicsbecause “random household spray” is how legends die.
Core supplies
- Microfiber cloths (several)
- Soft paintbrush (1–2 inches wide) or detailing brush
- Handheld vacuum with brush attachment (or vacuum hose held nearby)
- Cotton swabs / foam swabs
- Distilled water
- Mild dish soap
- High-concentration isopropyl alcohol (ideally 90%+ for electronics)
Nice-to-have (often worth it)
- Compressed air (used carefullyshort bursts, from a distance)
- Contact cleaner for switches/contacts (electronics-grade)
- Control cleaner/lubricant for pots and sliders (often a fader-safe product)
- Plastic polish set (for turntable dust covers, if scratched/hazy)
- Rubber cleaner/conditioner for tape deck pinch rollers (optional but helpful)
- Nitrile gloves (keeps skin oils off shiny surfaces and away from solvents)
The Smart Order of Operations
Cleaning vintage stereo equipment goes best in layers. If you jump straight to chemicals, you’ll just turn dust into paste and paste into regret.
- Dry clean first (dust removal)
- Exterior cleaning (faceplates, knobs, wood cases)
- Interior dusting (if you’re comfortable opening the case)
- Controls and connectors (scratchy knobs, oxidized jacks)
- Component-specific care (turntables, cassette decks, speakers)
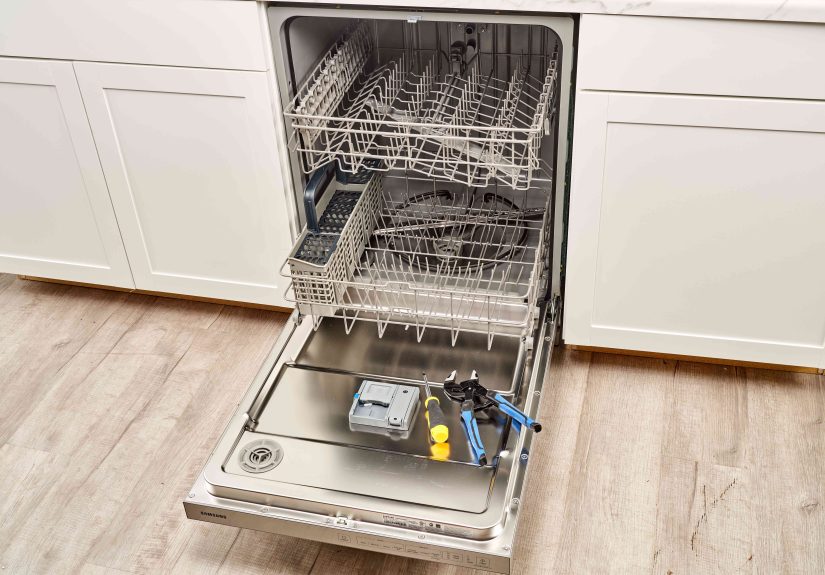
Step 1: Dry Dust Removal (Exterior)
Start with a soft brush and a vacuum. The trick is to lift dust away, not blow it deeper into vents like you’re seasoning the circuit board.
How to do it
- Use a soft brush to loosen dust from vents and seams.
- Hold the vacuum nozzle nearby (not scraping surfaces) to catch what you loosen.
- If using compressed air, use short bursts and keep distance to avoid forcing debris into switches or tuners.
Step 2: Knobs, Buttons, and Faceplates (Where Damage Happens)
The front panel is the “pretty face” of your gearand the most likely place to ruin lettering if you get aggressive.
Remove and clean knobs the safe way
- Pull knobs straight off (some have tiny set screws).
- Soak knobs in warm water with a drop of mild dish soap.
- Use a soft toothbrush for grooves, then rinse and dry fully.
Clean the faceplate without erasing history
- Start with a barely damp microfiber cloth (distilled water).
- If needed, add a tiny bit of diluted dish soap.
- Use swabs around labels and edges to control moisture.
- Avoid strong solvents on printed markingsalcohol can fade paint or silkscreen on some panels.
Pro move: If the panel has grime near lettering, use a damp swab and roll it gentlydon’t scrub like you’re polishing a bowling ball.
Step 3: Wood Cases and Veneer (Receivers That Look Like Furniture)
Many vintage receivers and speakers wear real wood or veneer. Treat it like furniture, not like a kitchen counter.
What works
- Dust with a dry microfiber cloth first.
- Wipe with a slightly damp cloth (distilled water) if needed.
- If the finish looks dry, a wood polish/conditioner made for finished wood can restore lusteruse sparingly and keep it away from vents.
Rule: Never soak wood. Water and veneer are not best friends; they’re “friendly until the swelling starts.”
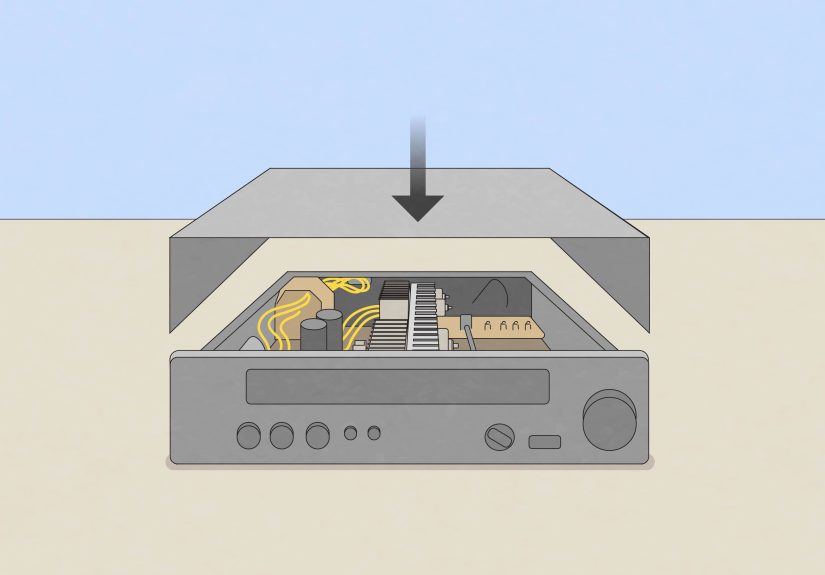
Step 4: Interior Dusting (Optional, But Often Worth It)
If you’re comfortable removing the top cover (and only the cover), interior dusting can improve airflow and reduce that “toasty attic” smell.
Safe interior cleaning method
- Unplug the unit and remove the cover screws.
- Use a soft brush to loosen dust from the chassis and heatsinks.
- Hold a vacuum nozzle nearby to catch dust as it lifts.
- Avoid snagging wires, bending tuner fins, or touching boards unnecessarily.
Skip: Any wet cleaning inside unless you truly know what you’re doing. Dust removal solves most “dirty inside” situations.
Step 5: Scratchy Volume Knobs and Dirty Switches
If your volume control sounds like a thunderstorm whenever you turn it, you’re usually dealing with oxidation or contamination in the control (potentiometer) or switch contacts.
What to use (and what not to use)
- Use: electronics-grade contact cleaner for metal contacts and a fader-safe lubricant/cleaner for pots/sliders when appropriate.
- Avoid: general-purpose lubricants (including standard WD-type products) that can leave residue and attract more dirt.
How to clean a scratchy pot (typical approach)
- With the cover off, locate the back of the pot (where the terminals are).
- Find an access opening (often a small gap or slot).
- Apply a small amount of the appropriate cleaner (less is more).
- Rotate the knob end-to-end 30–50 times to work it in.
- Let it dry fully before powering up.
Specific example: A receiver that crackles only when turning the volumeyet plays clean when the knob stopsoften improves dramatically after proper control cleaning. If crackle continues even when the knob is untouched, that may point to a deeper issue (not a cleaning problem).
Step 6: RCA Jacks, Speaker Terminals, and Oxidation
Oxidized connectors can cause dropouts, hum, weak channels, or “why is the left speaker auditioning as a whisper?” moments.
Connector cleaning method
- Wipe plugs with a microfiber cloth dampened with high-percentage isopropyl alcohol.
- For stubborn oxidation, use a swab or a soft brush with a small amount of contact cleaner.
- Be gentle with gold-plated connectorsaggressive abrasion can remove plating.
- After cleaning, reconnect and disconnect once or twice to “wipe” the contact surfaces together.
Tip: If a cable “fixes” a channel when you wiggle it, the problem is often a dirty connector, not a haunted amplifier.
Turntables: Dust Covers, Platters, and the Places Grime Loves
Turntables look simple until you realize they’re a precision device wearing a giant static-charged dust magnet as a hat.
Dust cover (clear plastic)
- Rinse loose grit off first (or wipe with a damp cloth) to avoid scratching.
- Use a microfiber cloth and a plastic-safe cleaner.
- For haze and scratches, use a step plastic polish system and follow instructions (test first and work in stages).
Platter and mat
- Remove the rubber mat; wash with mild soap and water, rinse, dry flat.
- Wipe the platter with a barely damp cloth; dry immediately.
Headshell contacts and ground points
- Use a small amount of contact cleaner on a swab for metal contacts.
- Let dry fully before reassembly.
Stylus note: Use a stylus brush and proper stylus-safe cleaner if needed. Avoid floodingstyli are tiny, not thirsty.
Cassette Decks: Heads, Capstans, and Pinch Rollers
Cassette decks are where dust, oxide, and old tape residue go to form a union.
Tape heads and metal guides
- Use a swab lightly dampened with high-percentage isopropyl alcohol.
- Clean until the swab stops picking up brown residue.
- Let everything dry completely before playback.
Pinch rollers (rubber)
- Many hobbyists use isopropyl alcohol carefully; others prefer rubber cleaner/conditioner to avoid drying rubber over time.
- If using alcohol, use minimal amounts and don’t scrub aggressively.
- Avoid oily products that can cause slipping or uneven tape speed.
Real-world clue: If tapes sound “warbly,” a glazed pinch roller or dirty capstan is a common causecleaning often helps.
Speakers: Cabinets, Grilles, and Delicate Cones
Speakers collect dust like it’s their side hustle. Clean them regularly and you’ll often get clearer highs and fewer “why does it sound muffled?” surprises.
Cabinets
- Wipe with a lightly damp microfiber cloth, then dry.
- For wood veneer, follow the same gentle approach as wood cases.
Grilles
- Vacuum gently with a brush attachment.
- For removable fabric grilles, spot-clean with mild detergent and water; air dry completely.
- For plastic/metal grilles, wash with mild soapy water and dry.
Drivers (cones and tweeters)
- No liquids. Use a soft brush or gentle air to remove dust.
- Be extra careful with tweeterssome domes dent if you breathe near them too confidently.
After Cleaning: Reassembly and Testing
- Confirm everything is dry (especially near controls and connectors).
- Reinstall knobs and covers.
- Reconnect one source at a time and test at low volume.
- Listen for channel balance, hum, and crackle.
When cleaning isn’t enough
If you still have loud hum, overheating, burning smells, or major distortion, stop. That’s not “needs more wiping”that’s “needs service.” Cleaning is maintenance, not magic.
Maintenance Schedule (So You Don’t Have to Do This Again Next Weekend)
- Monthly: light dusting of exteriors and speaker grilles
- Every 3–6 months: deeper cleaning of vents and connectors
- Yearly (or as needed): control cleaning if scratchiness returns
Real-World Cleaning Experiences (The Extra You Asked For)
Cleaning vintage stereo equipment sounds straightforward until you’re standing over a receiver that looks like it survived three basements, two garages, and one enthusiastic candle phase. Here are common “real life” situations vintage-audio owners run intoand the practical lessons that come with them.
1) The “Sticky Film” Receiver (a.k.a. The Nicotine Time Capsule)
One of the most frequent experiences is finding a receiver with a tacky, yellowish film on the faceplate and knobs. This often comes from smoke, cooking residue, or years of airborne grime. The mistake people make is reaching for a strong solvent to “end it quickly.” The better approach is slow and controlled: warm, mild soapy water for removable knobs, and a barely damp microfiber cloth for the faceplateespecially around printed labels. The satisfying part is watching the panel go from “sepia documentary filter” back to crisp aluminum. The frustrating part is realizing the grime was protecting the finish the way a winter coat protects you: by being unpleasant but effective.
2) The “Perfectly Clean” Front That Still Crackles
Another classic experience: the outside looks great, but the volume knob still sounds like stepping on dry leaves. That’s when people discover the difference between cosmetic cleaning and functional cleaning. Dust on the case is annoying; oxidation inside controls is what causes the crackle. Owners who get good results usually do three things: (1) apply the right electronics cleaner in small amounts, (2) work the control through its full range many times, and (3) let it dry before powering on. The lesson is boring but true: it’s not the spray that fixes itit’s the repeated motion distributing cleaner across the contact surfaces.
3) The “Where Did My Lettering Go?” Moment (Avoid This)
A painful but common learning experience is accidentally fading dial markings or silkscreen labels. It happens when someone uses alcohol or an all-purpose cleaner on a faceplate with delicate printing. The fix is prevention: test first, use minimal moisture, and switch to mild soap and water for exterior panels. If you inherit gear with fragile labeling, you treat the text like it’s written in pencil on a library book from 1978because sometimes it basically is.
4) The Turntable Dust Cover That’s More Scratch Than Cover
Many people discover that wiping a dusty cover with a dry cloth can create micro-scratches, especially if grit is present. The “aha” moment comes when they rinse or gently wipe away loose dust first, then use a plastic-safe polish system to restore clarity. The most successful restorations come from patience: multiple light passes beat one aggressive scrub. And yesafter polishing, the dust cover will immediately attract dust again, because static never sleeps.
5) The Speaker Grille Reality Check
Speaker grilles are where dust, pet hair, and “what even is that fuzz?” accumulate. People who vacuum gently first usually have the best outcomes. Those who soak fabric grilles without checking how they’re attached sometimes end up with sagging cloth or warped frames. The practical takeaway: clean grilles like you’d clean a nice sweatergently, with minimal water, and with respect for the fact that it still has to look good when it dries.
In the end, the most consistent experience is this: vintage gear rewards careful cleaning with better reliability, quieter controls, and a setup that looks as good as it sounds. The goal isn’t perfectionit’s preserving your equipment so it can keep doing its job: making music feel like an event.
Conclusion
Cleaning vintage stereo equipment is a mix of common sense, gentle tools, and knowing when to stop. Start dry, keep liquids controlled, protect delicate markings, and use electronics-grade products for controls and connectors. Do it right and your system will look sharper, run cooler, and sound more consistentwithout sacrificing the vintage charm that made you love it in the first place.