Table of Contents >> Show >> Hide
If you’ve ever stared proudly at your crystal-clear aquarium only to notice a suspicious layer
of gunk on your beautiful sand, welcome to the club. Sand substrates look sleek and natural,
but they also show every speck of fish poop, leftover food, and mystery debris. The good news?
Cleaning a fish tank with sand isn’t hardyou just need the right tools, gentle technique, and
a game plan that keeps your fish happy and your beneficial bacteria alive.
In this guide, we’ll walk through how to clean a fish tank with sand step-by-step, including
how to use a siphon without vacuuming up half the beach, how often to clean, and what mistakes
to avoid. We’ll also add “picture” cues so you can easily imagine each step as if you were
following a photo tutorial.
Why Sand Substrate Needs Special Care
Sand behaves differently from gravel. It’s lighter, compacts more easily, and doesn’t let as
much water flow through. That’s great for certain fish and plants, but it creates a few
cleaning challenges.
Sand vs. Gravel: What’s the Difference?
- Sand compacts more: Waste tends to sit on top of sand instead of sinking deep, which makes it easier to seeand to siphon offif you use the right technique.
- Less water flow through sand: Deep, untouched sand can develop anaerobic pockets (trapped gas and decaying matter) if it’s never disturbed.
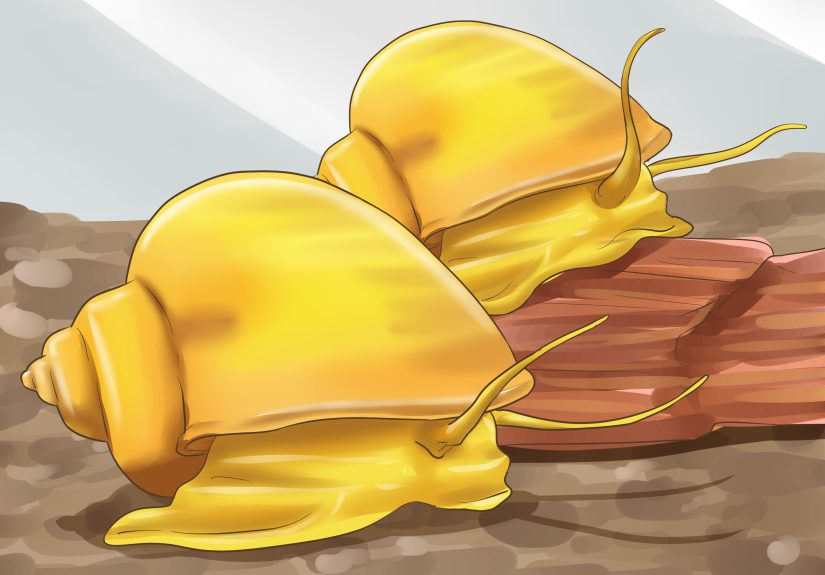
- Better for bottom dwellers: Many fish and invertebrates (like corydoras, loaches, and snails) enjoy soft sand that’s gentle on their barbels and shells.
Because of these differences, cleaning sand is less about digging deep and more about gently
lifting debris from the surface while preserving your biological filter.
Tools and Supplies You’ll Need
Before you roll up your sleeves, gather your gear. Here’s a simple checklist:
- Gravel vacuum or siphon: A basic siphon with a wide intake tube is perfect for sand because it creates gentler suction.
- Buckets: Use clean, aquarium-only buckets (no detergent residue).
- Algae scraper or sponge: For cleaning glass (make sure it’s aquarium-safe).
- Water conditioner: To treat tap water before it goes back in the tank.
- Aquarium-safe towel or cloth: For wiping drips and cleaning the outside glass.
- Turkey baster or pipette (optional): Great for spot-cleaning waste from tight spots or corners.
- Net (optional): To catch floating debris or the occasional sand “oops.”
Step-by-Step: How to Clean a Fish Tank With Sand
The goal is to remove waste, not your entire sand bed. Think “gentle housekeeping,” not “full
beach renovation.”
Step 1: Unplug Equipment and Get Set Up
- Turn off your heater, filter, and any powerheads. You don’t want the filter running dry or sucking in air while the water level drops.
- Place a bucket lower than your tank for a traditional siphon, or connect a no-spill system if you have one.
- Wash your hands and forearms (no soap or lotion) before working in the tank.
Step 2: Start the Siphon
Use your siphon or gravel vacuum to begin pulling water into the bucket. If you’re using a
no-spill or faucet-assisted system, follow the manufacturer’s instructions to start the flow.
Once the water is flowing, you’re ready to tackle the sand. Here’s the key:
you do not jab the tube deep into the sand like you might with gravel. Instead, you work just above the surface.
Step 3: Hover Above the Sand, Don’t Dig In
Move the siphon intake so it hovers about 0.5–1 inch (1–2 cm) above the sand. Gently swirl the
end of the tube to stir up debris from the surface. The waste will lift into the water column
and get sucked into the siphon, while most of the sand stays put.
If some sand starts to go up the tube:
- Raise the siphon slightly higher above the sand.
- Pinch or kink the hose briefly so the sand drops back down while the lighter debris keeps flowing.
- Keep the bucket a bit higher to slow the flow if needed.
Step 4: Work in Sections
Don’t feel obligated to deep-clean every square inch of sand in one sessionespecially in
larger tanks. A common approach is to divide the sand bed into sections and clean a different
section each week or each water change. This helps:
- Protect beneficial bacteria living in and on the sand.
- Prevent sudden disruptions to your tank’s biological balance.
- Keep maintenance sessions shorter and less stressful for your fish.
Aim to clean about one-quarter to one-half of the sand bed during a standard water change,
depending on how dirty it is and how heavily stocked the tank is.
Step 5: Gently Stir Trouble Spots
If you see trapped gas bubbles or stubborn mulm in low-flow areas:
- Use your fingers, a pair of aquascaping tweezers, or the siphon tip to lightly stir the top layer of sand.
- Immediately hover the siphon above the disturbed area to suck up released debris.
- Avoid digging deep into thick sand beds to prevent releasing large anaerobic pockets all at once.
For planted tanks, avoid disturbing the root zones too aggressivelyplants actually appreciate
some detritus as slow-release fertilizer.
Step 6: Clean the Glass and Decorations
While water is still draining:
- Use an algae scraper or pad to remove algae from the glass.
- Gently shake or swish artificial plants or ornaments in discarded tank water (never under untreated tap water if you want to preserve bacteria).
- Leave some biofilm and beneficial bacteria on surfacesit’s not a surgical scrub, just a tidy-up.
Step 7: Refill the Tank Carefully
Once you’ve removed 20–40% of the water (up to ~50% in a very dirty tank), it’s time to refill:
- Treat new tap water with a water conditioner first.
- Match the temperature as closely as possible to your tank’s water.
- Pour the new water in slowly over a plate, bowl, or plastic bag placed on the sand to avoid blasting craters into the substrate.
When you’re done, plug the heater, filter, and equipment back in, and check that everything is
running properly.
How Often Should You Clean a Sand Tank?
There’s no one-size-fits-all schedule, because every aquarium has its own “personality.” But
these general guidelines help:
- Lightly stocked, planted tanks: Vacuum the sand surface every 2–3 weeks during water changes.
- Heavily stocked or messy eaters (like goldfish or cichlids): Spot-clean weekly and do a more thorough pass every 1–2 weeks.
- New tanks: Expect to clean more often at first as the system stabilizes and you fine-tune feeding.
Watch the sand and your water clarity. If you see visible waste building up, cloudy water, or a
“dirty snow” look on the sand, it’s time for a cleaning and water change.
Common Mistakes to Avoid
1. Digging Deep into the Sand Every Time
Constantly plunging the siphon deep into the sand can remove too much beneficial bacteria and
destabilize the tank. Focus primarily on surface waste and lightly stirring only when needed.
2. Overcleaning and Overchanging Water
Removing more than about half the tank’s water at once (unless it’s an emergency) can shock
your fish and crash your cycle. Clean gradually and consistently instead of doing rare,
extreme “resets.”
3. Ignoring Flow and Filtration
Dead spotsareas with very little water movementtend to collect waste. Adjust the angle of
your filter outlet or add a gentle powerhead so debris stays suspended long enough to be
filtered or siphoned out.
4. Letting Sand Beds Get Too Deep
Very deep sand beds can trap gases and waste. For most freshwater community tanks, a depth of
about 1–2 inches (2.5–5 cm) of sand is plenty unless you’re running a specialized deep sand
system and understand how to manage it.
Helpful Extras: Let Nature Help You
You don’t have to do all the work alone. Certain tank inhabitants and habits can help keep
your sand cleaner between vacuuming sessions:
- Snails and shrimp: Many species constantly graze on leftover food and biofilm.
- Sand-sifting fish: Some bottom dwellers naturally sift sand through their gills, keeping the surface active.
- Smart feeding: Feed only what your fish can finish in a few minutes to cut down on leftovers sinking into the sand.
They won’t replace siphoning entirely, but they definitely lighten the workload.
Real-Life Experiences: What Cleaning a Sand Tank Is Actually Like
On paper, cleaning sand sounds simple: hover, swirl, siphon, refill. In real life, there’s a
bit of a learning curveand that’s where experience really helps. Most aquarists go through the
same arc: curiosity, minor chaos, then “aha!” moments.
The first time many hobbyists try to clean a sand tank, they treat it like gravel and jam the
tube straight into the substrate. The result? Half the sand ends up in the bucket, the water
turns cloudy, and the aquarist stares at the tank wondering where they went wrong. The fix is
almost always the same: slow down, raise the siphon, and let gravity do the work. Once you
realize that detritus is lighter than sand, the technique starts to click.
Another common experience is discovering “trouble zones.” Maybe there’s a corner behind a big
rock where flow is weak, or a spot under driftwood where food always seems to land. Over time,
sand in those areas can develop dark patches and even small gas bubbles. Many aquarists learn
to give those spots a little extra attentiongently stirring them during water changes and
hovering the siphon just above to pull out anything that’s been trapped. It’s a small habit
that makes a huge difference in keeping the sand looking fresh instead of patchy.
Some people also learn the value of the turkey baster “hack.” Instead of launching a full
cleaning session every time you notice a few poop piles, you can use a turkey baster to suck
up small messes between water changes. Quick spot-cleaning sessions like this keep the sand
looking tidy and prevent waste from building up into a bigger problem later. It’s especially
handy in tanks with white or very light-colored sand, where every speck shows up like a neon
sign.
Overfeeding is another lesson that often comes the hard way. It’s tempting to keep dropping
“just a bit more” food into the tank, especially when fish rush to the front glass like they’re
starving actors auditioning for a commercial. But extra food that falls to the sand quickly
breaks down into mush, fueling algae blooms and piles of mulm. After a few cloudy-water
episodes and smelly cleanings, most aquarists become much more precise with feedingsmaller
amounts, better-quality food, and sometimes using feeding rings or target-feeding to keep food
from scattering all over the sand.
Then there’s the emotional side: the satisfaction of stepping back after a cleaning session
and seeing the sand smooth, the water sparkling, and the fish exploring their refreshed home.
Many hobbyists describe it as strangely relaxingalmost meditative. You get into a rhythm:
unplug, siphon, swirl, refill, replug. Once you’ve dialed in your routine, what used to feel
like a chore becomes a ritual that connects you to your little underwater world.
The biggest takeaway from real-world experiences is that perfection isn’t necessary. You don’t
have to keep the sand pristine 24/7, and a bit of natural detritus or algae is normal in a
living ecosystem. What matters is consistency: regular, gentle cleaning; reasonable water
changes; and paying attention to how your tank responds. Over time, you’ll develop a feel for
your specific setuphow quickly the sand gets dirty, how your fish behave during cleanings, and
what tweaks make the process smoother. That’s when you stop worrying about “messing up the
sand” and start feeling confident that you know exactly how to keep it looking great.
Conclusion
Cleaning a fish tank with sand doesn’t have to feel like advanced chemistry or underwater
archaeology. With a siphon, some patience, and a light hand, you can keep your sand substrate
looking bright and your fish thriving. Focus on hovering above the sand instead of digging in,
work in sections, and let your beneficial bacteria and cleanup crew do part of the job for you.
Over time, your routine will become second natureand the only thing your visitors will notice
is how clean, calm, and beautiful your sand-bottom tank looks.