Table of Contents >> Show >> Hide
- Why Cleaning Matters (Beyond Taste)
- Cleaning vs. Descaling: Know the Difference
- How Often Should You Clean a Coffee Maker?
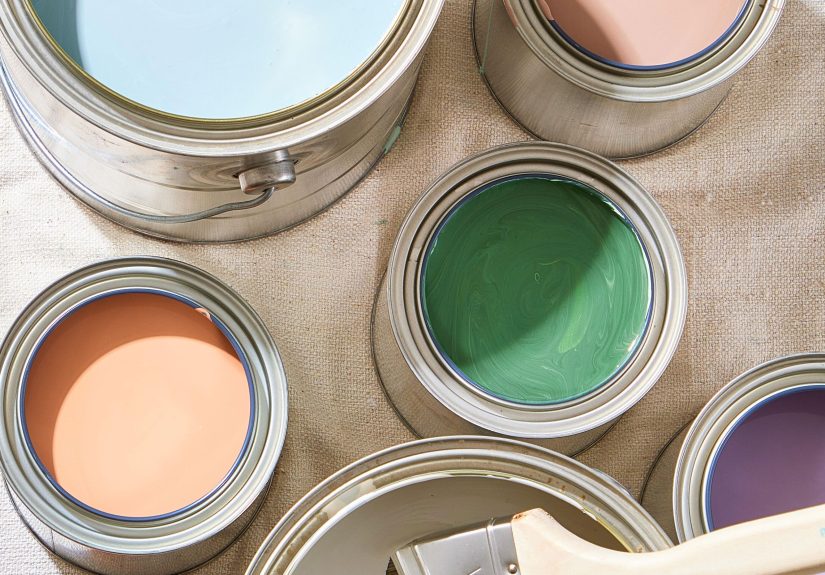
- Supplies You’ll Need
- How to Clean a Drip Coffee Maker (Step-by-Step)
- How to Clean a Single-Serve Coffee Maker (Keurig-Style)
- How to Clean a Nespresso Machine
- How to Clean an Espresso Machine (Home Models)
- Troubleshooting: Signs Your Coffee Maker Needs Attention
- Smart Habits That Keep Your Coffee Maker Cleaner Longer
- Quick Example: A Simple “Monthly Reset” Plan
- Conclusion: Cleaner Machine, Better Coffee, Fewer Surprises
- Real-Life Experiences and “Yep, Been There” Moments (Bonus)
Your coffee maker has two jobs: make coffee and quietly judge you for forgetting to clean it. If your brew tastes
“off,” takes forever to drip, or smells a little like yesterday’s regret, it’s probably not the beansit’s buildup.
Coffee oils cling to plastic and glass, mineral deposits (aka limescale) tighten up internal tubes, and moist parts
can become a science project if they sit too long.
The good news: cleaning a coffee maker is easy, inexpensive, and wildly satisfying. The even better news: once you
get into a simple routine, you’ll spend less time troubleshooting and more time enjoying coffee that tastes like
coffee (not “mystery hint of old pot”).
Why Cleaning Matters (Beyond Taste)
Cleaning a coffee maker isn’t just about flavorthough that’s the fastest way to notice the difference. Regular
cleaning helps:
- Improve taste by removing rancid coffee oils and old residue.
- Prevent slow brewing caused by mineral buildup from hard water.
- Protect your machine by keeping internal parts from clogging or overheating.
- Reduce funky smells from damp reservoirs, drip trays, and carafes.
Cleaning vs. Descaling: Know the Difference
People often say “clean” when they really mean two different jobs:
-
Cleaning removes coffee oils, grounds, splashes, and general gunk from baskets, carafes, lids,
and removable parts. -
Descaling dissolves mineral buildup (calcium and magnesium deposits) inside the machine from
waterespecially if you have hard water.
You want both. Cleaning keeps things sanitary and fresh; descaling keeps the brewer running like it’s not trying
to push water through a limestone cave.
How Often Should You Clean a Coffee Maker?
Quick routine (after each brew day)
- Empty grounds and rinse the brew basket (or K-cup holder parts).
- Wash the carafe or travel mug with warm, soapy water.
- Empty and rinse the drip tray if it’s a single-serve machine.
Weekly routine
- Wash removable parts more thoroughly (basket, permanent filter, carafe lid, drip tray).
- Wipe the exterior and hotplate (once cool) with a damp cloth.
- Check the water reservoir for film or cloudiness; rinse it out.
Deep clean and descale (about every 1–3 months)
Frequency depends on usage and water hardness. If you brew daily or have hard water, lean toward monthly. If you
brew occasionally and use filtered water, you may be fine every 2–3 months. Many manufacturers also provide their
own cleaning cycle guidancealways worth following when available.
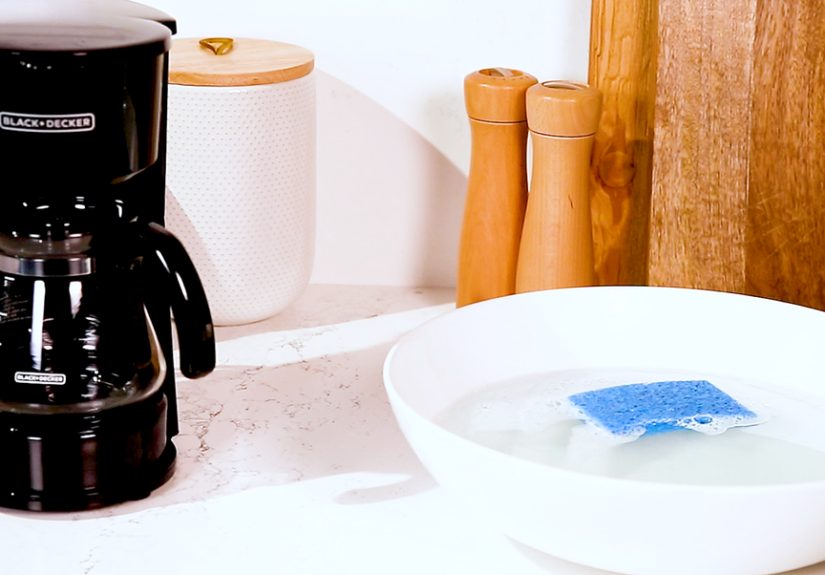
Supplies You’ll Need
- Dish soap and a soft sponge (skip anything scratchy)
- White distilled vinegar or a coffee maker descaling solution
- Clean water (filtered is great)
- A microfiber cloth or soft towel
- An old toothbrush or small soft brush (for crevices)
- Baking soda (optional, great for stains and odors)
How to Clean a Drip Coffee Maker (Step-by-Step)
This is the classic “12-cup” style machine with a carafe and brew basket. The goal is to clean the removable parts
and then descale the internal water pathway.
Step 1: Wash the removable parts
- Unplug the machine and let it cool completely.
- Remove the brew basket, permanent filter (if you have one), and carafe lid.
- Wash everything with warm, soapy water. Rinse well and air-dry.
Pro tip: If the brew basket has ridges or tiny holes, a soft toothbrush helps remove trapped
coffee grounds and oils without damaging plastic.
Step 2: Wipe the “splash zone”
Coffee makers tend to collect buildup around the showerhead (where water drips into the grounds) and under the lid.
Wipe those areas with a damp cloth. If you see stubborn residue, use a drop of dish soap on a cloth, then wipe
again with plain water.
Step 3: Run a descaling cycle
For many drip machines, a vinegar-water solution works well, but some manufacturers recommend a dedicated descaler.
If your manual specifies a ratio or product, follow that first. If you don’t have a manual handy, a common,
coffee-maker-friendly approach is:
- Routine mineral buildup: 1 part vinegar to 2 parts water
- Heavy buildup / hard water areas: up to a 1:1 mix (vinegar and water)
- Place a paper filter (optional) in the basket to catch loose particles.
- Pour your vinegar solution into the water reservoir.
- Run a brew cycle. If your machine allows, pause halfway and let it sit 20–60 minutes to loosen buildup.
- Finish the cycle and discard the solution from the carafe.
Step 4: Rinse like you mean it
Vinegar is helpful, but no one wants “Eau de Salad Dressing” coffee. Rinse thoroughly:
- Fill the reservoir with clean water.
- Run a full brew cycle.
- Repeat with fresh water 1–2 more times, until you can’t smell vinegar.
Step 5: Clean the carafe stains
If your glass carafe has brown stains, try one of these:
- Baking soda scrub: Add a little baking soda and water, gently scrub, then rinse.
- Soak method: Warm water + a bit of dish soap, let sit, then rinse.
How to Clean a Single-Serve Coffee Maker (Keurig-Style)
Single-serve machines can build up mineral scale quickly because they heat small amounts of water over and over.
They also have parts that stay damp (drip trays, pod holders), which can lead to odors if ignored.
Regular cleaning (weekly)
- Unplug the machine.
- Remove the drip tray, water reservoir (if removable), and pod holder parts.
- Wash removable parts with warm, soapy water. Rinse and dry.
- Wipe the exterior with a damp cloth.
Descaling (every 1–3 months, or when the machine prompts you)
Many Keurig models have a descaling mode and the brand offers a descaling solution. Some older guidance also
includes vinegar-based descaling, but if your manufacturer recommends a specific solution, follow that. The general
process looks like this:
- Remove any water filter from the reservoir (if your model uses one).
- Fill the reservoir with descaling solution + water per the product instructions (or your model’s manual).
- Run brew cycles without a pod into a large mug, emptying as needed, until the reservoir is empty.
- Rinse: refill with fresh water and run several cycles until no smell or taste remains.
Needle note: Some single-serve machines have needles that puncture pods and can clog with coffee
particles. If your model includes a needle-cleaning tool or instructions, use thosedon’t go poking around with
random metal objects like you’re defusing a bomb.
How to Clean a Nespresso Machine
Nespresso machines are a little different: cleaning removes coffee residue and keeps parts hygienic, while
descaling removes limescale. Many Nespresso resources strongly recommend using the brand’s descaling solution and
caution against vinegar because it may damage internal components or leave stubborn odors.
Routine cleaning
- Empty the capsule container and drip tray regularly.
- Rinse and wash the water tank and drip tray as directed by your model.
- Wipe the capsule area and exterior with a damp cloth.
Descaling
Follow your specific model’s descaling instructions (button sequences vary). In general, you’ll add descaling
solution to the water tank, run the machine through its descaling program, and then run a thorough rinse cycle
with fresh water afterward.
How to Clean an Espresso Machine (Home Models)
Espresso machines are all about pressure, heat, and tiny pathwaysso cleanliness matters. Coffee oils can build up
in the portafilter and shower screen, and mineral scale can affect temperature and flow. If your machine has a milk
frother or steam wand, it needs consistent attention because milk residue is famously clingy.
Daily/after-use essentials
- Knock out the puck, rinse the portafilter, and wipe the basket.
- Flush a little water through the group head to rinse away oils.
- Wipe and purge the steam wand right after frothing milk.
Weekly to monthly deep cleaning
- Soak portafilter baskets in warm water with espresso machine cleaner (if recommended for your model).
- Clean shower screens and gaskets per manufacturer instructions.
- Descale according to your machine’s manual (especially in hard water areas).
Espresso machines range from “press button, feel fancy” to “mini boiler room in your kitchen,” so the manual is
your best friend. If your machine supports backflushing, do it only as instructed and with the right cleaner.
Troubleshooting: Signs Your Coffee Maker Needs Attention
- Slow brew time: Often mineral buildup in internal tubes or showerhead.
- Weird taste: Usually coffee oil residue, dirty basket, or old water sitting in the tank.
- Odd smell: Frequently a damp reservoir, drip tray funk, or stale grounds stuck in crevices.
- Not hot enough: Scale can interfere with heating efficiency.
- Machine is noisy: Gurgling or struggling can happen when water flow is restricted.
Smart Habits That Keep Your Coffee Maker Cleaner Longer
Use better water (your machine will thank you)
If you live in a hard water area, consider using filtered water. It can slow mineral buildup and reduce how often
you need to descale. Your coffee may taste better, toowater is most of the drink, after all.
Don’t let water sit for days
It’s tempting to “top off” the reservoir forever. But old water can taste stale, and reservoirs can develop film.
If you’re not brewing daily, dump and refresh the tank.
Keep parts dry when possible
After washing removable parts, let them air-dry fully before reassembling. Less moisture = fewer odors and less
mystery gunk.
Avoid cleaning mistakes
- Never mix vinegar with bleach or ammonia. That combo can create dangerous fumes.
- Don’t scrub with abrasive pads that can scratch plastic and create places for residue to cling.
- Don’t ignore the rinse cycles. Leftover cleaner can ruin taste.
- Don’t submerge electrical bases. Wipe themdon’t dunk them.
Quick Example: A Simple “Monthly Reset” Plan
Want a routine you can actually stick to? Here’s a simple plan that works for most households:
- Weekly: wash removable parts + wipe exterior.
- Monthly: run a descaling/cleaning cycle (vinegar solution or descaler), then rinse thoroughly.
- Every brew day: rinse basket, wash carafe, empty grounds, and don’t let coffee sit on the hotplate.
The payoff is immediate: faster brewing, better flavor, and fewer mornings where your machine sounds like it’s
trying to cough up a mineral deposit.
Conclusion: Cleaner Machine, Better Coffee, Fewer Surprises
Learning how to clean a coffee maker is one of those small home skills that delivers big results. A little soap and
water keeps removable parts fresh; regular descaling fights mineral buildup; and a few smart habits (like filtered
water and fully drying parts) can prevent the most common problems. Your future self will thank youpreferably with
a delicious cup of coffee that doesn’t taste like “last month’s hotplate.”
Real-Life Experiences and “Yep, Been There” Moments (Bonus)
People rarely decide to clean a coffee maker because they’re bored and craving a new hobby. It’s usually triggered
by an experiencean off taste, a weird smell, or a brew cycle that suddenly takes long enough to start a side quest.
Here are some common, real-world scenarios coffee drinkers run into, plus what tends to fix them.
The “My coffee tastes… dusty?” mystery
This is the classic: same beans, same routine, but the cup tastes flat or slightly bitter in a way that doesn’t
match the roast. A lot of home brewers describe it as “old” or “stale,” even right after brewing. Often, the culprit
is coffee oil residuethose invisible oils that coat the brew basket, carafe lid, and the underside of the machine’s
top. Once they build up, they can turn rancid and hijack flavor.
The fix is usually simple: wash all removable parts with warm, soapy water, pay extra attention to the carafe lid,
and wipe the showerhead area. Many people are surprised that a squeaky-clean carafe (especially the lid) makes the
coffee taste brighter againlike someone adjusted the “freshness” slider back to normal.
The slow-drip morning that tests your patience
Another common experience: the machine starts brewing more slowly over time. You might notice the stream is weaker,
the cycle is louder, or it pauses like it’s thinking hard about its life choices. This is often mineral buildup from
hard water. Even if the inside of your coffee maker looks fine, scale can quietly narrow internal tubes.
People in hard water areas often report that a monthly descaling cycle is the difference between a 6-minute brew and
a 15-minute saga. If vinegar is allowed for your model, a vinegar-water cycle followed by multiple rinse cycles can
restore flow. For machines that prefer commercial descalers (or explicitly warn against vinegar), the correct
descaling solution is usually worth itfewer odors and better compatibility with seals and internal parts.
The “Why does my water tank smell weird?” surprise
Reservoirs can be sneaky. They’re out of sight, they hold water for days, and they can develop a filmespecially if
you keep topping off water instead of emptying and refilling. Some people notice a musty smell when they lift the lid
or see cloudiness in the tank. It’s not always dramatic, but it’s a sign the reservoir needs a wash.
The best routine fix is to remove the tank (if possible), wash it with warm, soapy water, rinse thoroughly, and let
it dry. If your reservoir isn’t removable, empty it, wipe it carefully with a soft cloth, and run a rinse cycle.
Many home brewers also find that switching to filtered water reduces both odor and mineral film over time.
The stained carafe that makes you feel judged
Carafe stains are practically a rite of passage. You turn away for one minute, and suddenly the glass looks like it’s
been storing coffee since 2009. People often try aggressive scrubbing first, but gentler methods usually work better:
a baking soda scrub, a warm soapy soak, or a little vinegar in warm water. The key is giving the stain time to loosen
instead of using brute force that can scratch surfaces.
The single-serve funk (drip tray edition)
Single-serve machines have an underrated trouble spot: the drip tray and pod holder area. It stays damp, collects
splashes, and can smell off if it isn’t emptied and rinsed. Many people only notice when they lift the tray and get
hit with a “what is that?” moment. The solution is low-effort: wash removable parts weekly, wipe down the pod chamber,
and don’t let used pods sit too longmoist coffee grounds are enthusiastic about becoming unpleasant.
The overall pattern in these experiences is reassuring: most coffee maker problems come from ordinary buildup, and
ordinary cleaning fixes them. If you keep a simple schedulewash parts regularly, descale on a reasonable cadence,
and rinse thoroughlyyour coffee maker will behave better, taste better, and demand less attention at exactly the
moment you need caffeine the most.