


Keeping enameled cast iron beautiful is easier than many home cooks think. This guide explains how to...
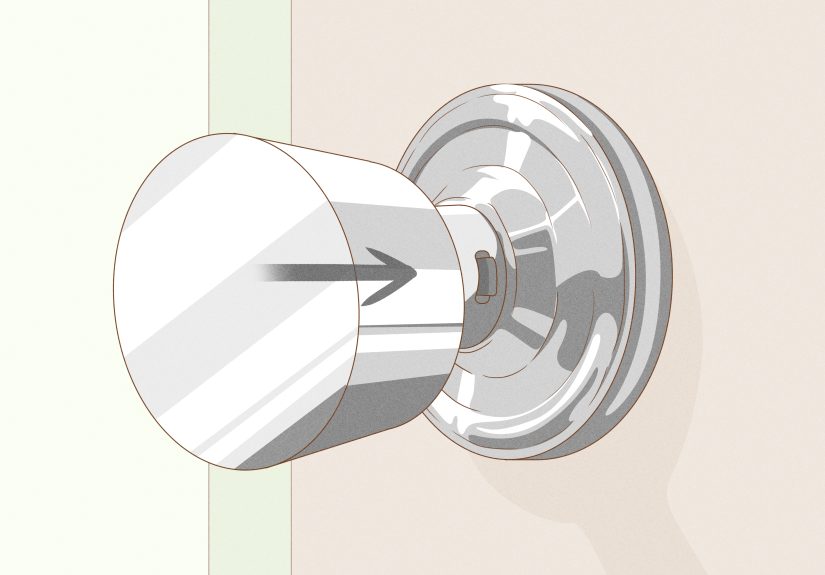
Replacing an interior doorknob is one of the easiest DIY home upgrades when you know the right...
Some police scandals are not about one bad decision or one rogue officer having the worst day...
DeepSeek is a big deal because it did more than launch another chatbot. It challenged the assumption...
Lentigo maligna melanoma often looks like a harmless age spot, which is exactly what makes it dangerous....
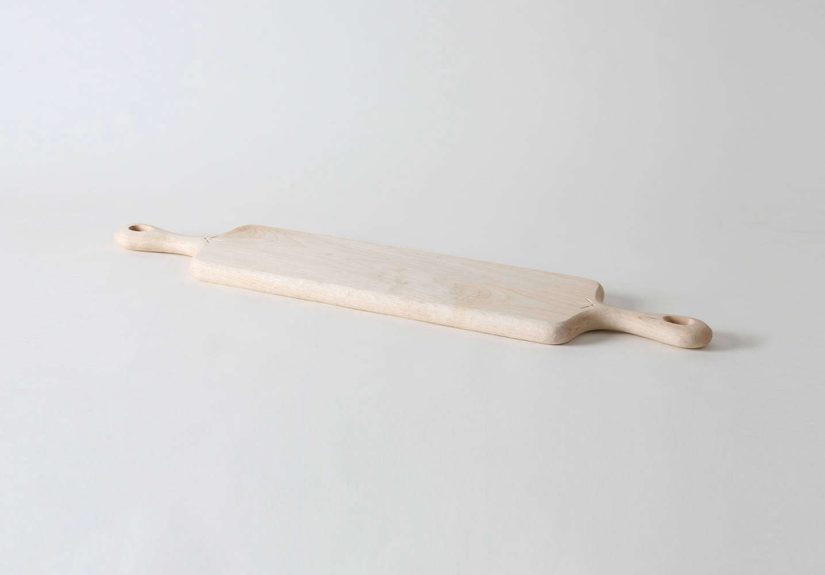
The Blackcreek Mercantile & Trading Co. Small Narrow Board with Double Handle is more than a pretty...

Wondering how much your Chapter 13 plan payment will be? This in-depth guide explains the real formula...
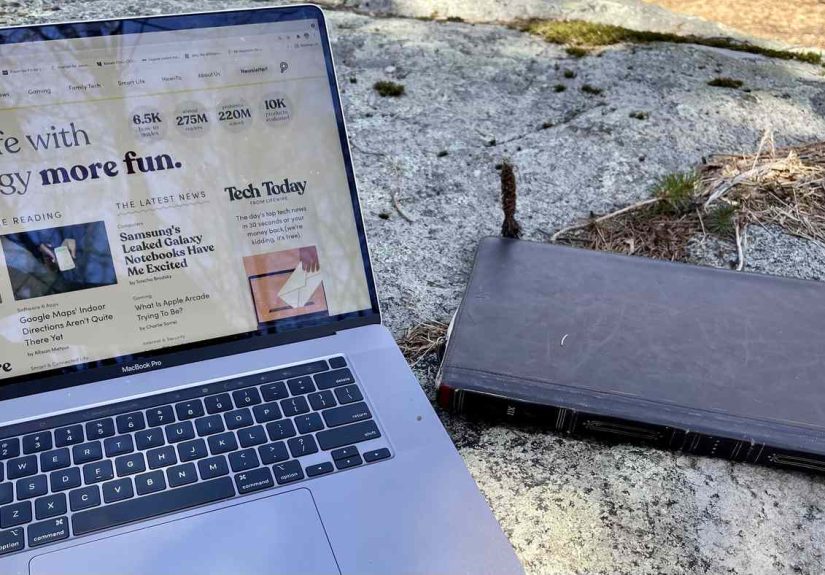
Why do some MacBook cases feel forgettable while others become part of your daily routine? This deep...
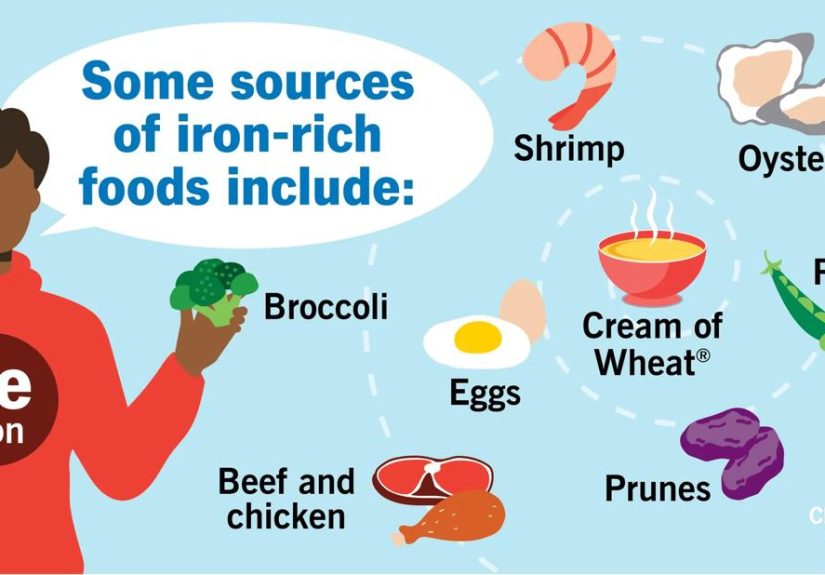
Looking for the best foods high in iron? This in-depth guide breaks down 52 iron-rich foods, including...