Table of Contents >> Show >> Hide
- Before You Start: Set Yourself Up for a “Wow, I Did That?” Result
- The 10 Ways
- 1) The “Dusting” Trim: Remove Split Ends Without Losing Length
- 2) The Straight-Across Blunt Trim: Clean, Classic, and Surprisingly Doable
- 3) The Low Ponytail Method: A Beginner-Friendly Way to Trim Long Hair Evenly
- 4) The High Ponytail “Unicorn” Trim: Soft, Shaggy Layers Without Advanced Skills
- 5) Face-Framing Layers: Keep the Front Fresh Without Touching the Back
- 6) Bang Trim Basics: Wispy, Straight, or Side Bangs (Without Regret)
- 7) The One-Guard Buzz Cut: The Easiest Short Haircut to DIY
- 8) Short Back-and-Sides Refresh: A “Simple Taper” Without the Perfect Fade
- 9) Neckline and Sideburn Cleanup: The 10-Minute Upgrade
- 10) Curly/Coily Maintenance: Dry, Curl-by-Curl Trimming for Shape
- How to Avoid the Most Common DIY Haircut Mistakes
- Aftercare: Make Your DIY Cut Look More Professional
- Conclusion
- of Real-Life DIY Haircut Experience (So You Don’t Have to Learn the Hard Way)
Cutting your own hair at home is a little like assembling furniture without reading the instructions:
it can go beautifully… but only if you respect the tiny hex key and your own limitations.
The good news? You don’t need to become a professional stylist overnight to clean up split ends,
refresh bangs, or keep a short cut looking sharp. You just need a plan, the right tools, and the
patience of a saint (or at least a person who doesn’t “just do one more snip” at 1 a.m.).
This guide walks you through ten beginner-friendly methods to cut your own hair at home, with
practical steps, who each method is best for, and the common mistakes that cause most DIY hair
disasters. Keep it simple, cut less than you think, and remember: you can always trim more,
but you can’t glue hair back on with positive vibes.
Before You Start: Set Yourself Up for a “Wow, I Did That?” Result
Tools that actually matter
- Hair-cutting shears (not kitchen scissorsthose crush hair and create frayed ends)
- Fine-tooth comb + a wide-tooth comb for detangling
- Hair clips (4–8) for sectioning
- Two mirrors: a bathroom mirror + handheld mirror (or a second standing mirror)
- Spray bottle with water (optional; depends on method and hair type)
- Clippers/trimmer with guard attachments (for short cuts, necklines, sideburns)
- Hair ties (for ponytail methods)
- Towel/cape and a vacuum plan
Quick setup checklist
- Lighting: bright, overhead if possible. Shadows are the enemy of even lines.
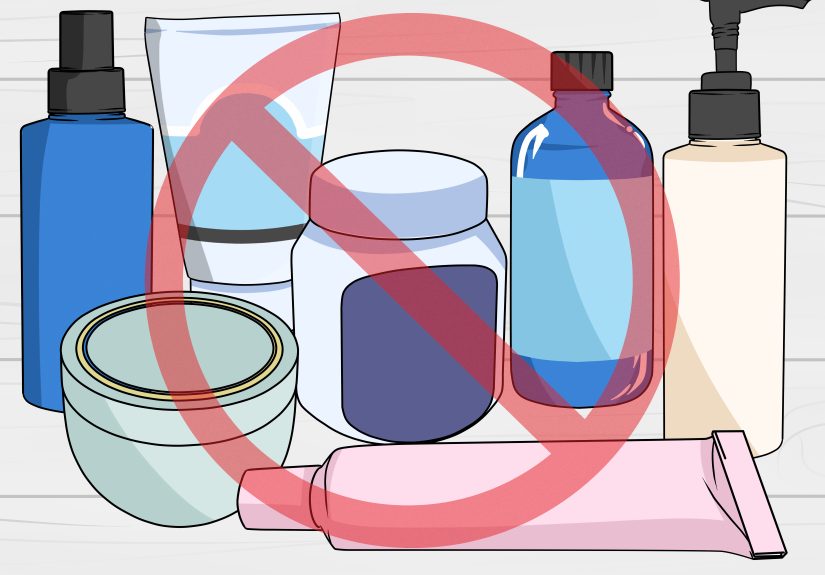
- Hair status: detangled and clean-ish. Product buildup makes hair lie.
- Mindset: you’re doing maintenance, not a dramatic reinvention.
- Rule #1: start longer than your goal length. Always.
The 10 Ways
1) The “Dusting” Trim: Remove Split Ends Without Losing Length
Best for: long hair, medium hair, anyone who wants healthier-looking ends without a “new haircut.”
Dusting is a micro-trim that targets wispy, damaged tips.
- Part hair as you normally wear it and detangle fully.
- Work in small sections (think: 1-inch wide). Twist each section gently until little ends stick out.
- Using sharp shears, snip only the flyaway ends that pop out. Keep cuts tinylike “pepper flakes,” not “pizza slices.”
- Repeat around your head, focusing on the most weathered areas: front pieces and ends.
Pro tip: If you want softer ends, use point cutting (small vertical snips) instead of one straight chop.
Dusting is slow, but it’s also the least risky method in this entire article.
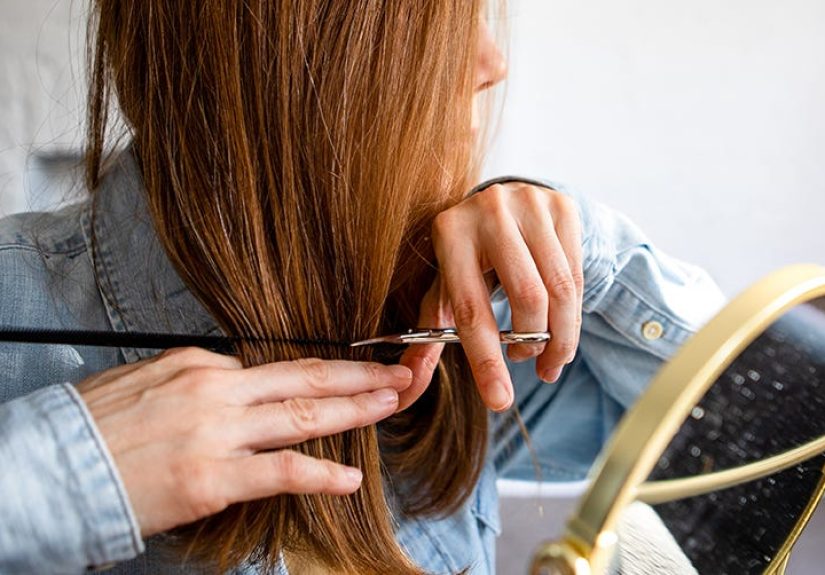
2) The Straight-Across Blunt Trim: Clean, Classic, and Surprisingly Doable
Best for: straight to wavy hair; anyone wanting a simple, even baseline.
This creates a blunt perimeter that looks polishedif you take your time.
- Detangle and decide: damp or dry? If your hair shrinks or curls a lot, go dry.
- Split hair into two equal sections down the middle.
- Bring both sections forward over your shoulders, keeping tension gentle and consistent.
- Use your fingers as a guide and cut in small snips across each section at the same point.
- Check symmetry by looking straight ahead (not twisting your neck like an owl).
Fix-it move: If the line looks too harsh, lightly point cut the ends to soften.
If it’s uneven, correct it by trimming the longer sidedo not “match” by taking both sides shorter in panic.
3) The Low Ponytail Method: A Beginner-Friendly Way to Trim Long Hair Evenly
Best for: long, mostly straight or gently wavy hair; maintenance trims.
This method helps you cut a neat line by controlling hair as one unit.
- Brush hair smooth and create a low ponytail at the nape of your neck.
- Secure it tight enough to be smooth, but not so tight it causes bumps.
- Add a second hair tie a few inches below the first; slide it down to where you want to cut.
- Cut below the second tie with small, controlled snips.
- Remove ties, shake hair out, then refine with tiny trims as needed.
Reality check: If your hair is very thick, very curly, or has lots of existing layers, ponytail methods can create surprises.
When in doubt, trim less.
4) The High Ponytail “Unicorn” Trim: Soft, Shaggy Layers Without Advanced Skills
Best for: longer hair that wants movement; people who like a slightly lived-in look.
This method tends to create face-framing softness and light layering.
- Flip your head forward and brush hair toward the front hairline.
- Create a high ponytail near the center of your forehead (yes, you will look ridiculous; yes, it’s part of the magic).
- Secure tightly, then add a second tie where you want to cut.
- Trim in small snips. Start with less than you think you need.
- Release, evaluate, and do micro-adjustments with point cutting.
Style note: This won’t give you salon-precise layers, but it can refresh shape quickly and forgivingly.
It’s the sweatpants of haircuts: comfy, casual, and not pretending to be couture.
5) Face-Framing Layers: Keep the Front Fresh Without Touching the Back
Best for: medium to long hair; anyone who wants front pieces to hit cheekbones, jawline, or collarbone again.
Face-framing is the highest “impact-to-risk” ratio you can get at home.
- Part hair the way you wear it daily.
- Section out two front pieces, roughly from the temple down (leave the rest clipped back).
- Decide your shortest point (e.g., between cheekbone and jawline). Start longer than your goal.
- Hold hair forward and cut with point cutting at a slight diagonal for softness.
- Repeat on the other side, checking balance from the front view.
Common mistake: cutting too much hair into the front section. Keep it small.
You want “face frame,” not “surprise curtain bangs you didn’t ask for.”
6) Bang Trim Basics: Wispy, Straight, or Side Bangs (Without Regret)
Best for: anyone already wearing bangs.
Bangs are the area where one extra millimeter becomes an emotional eventso go slow.
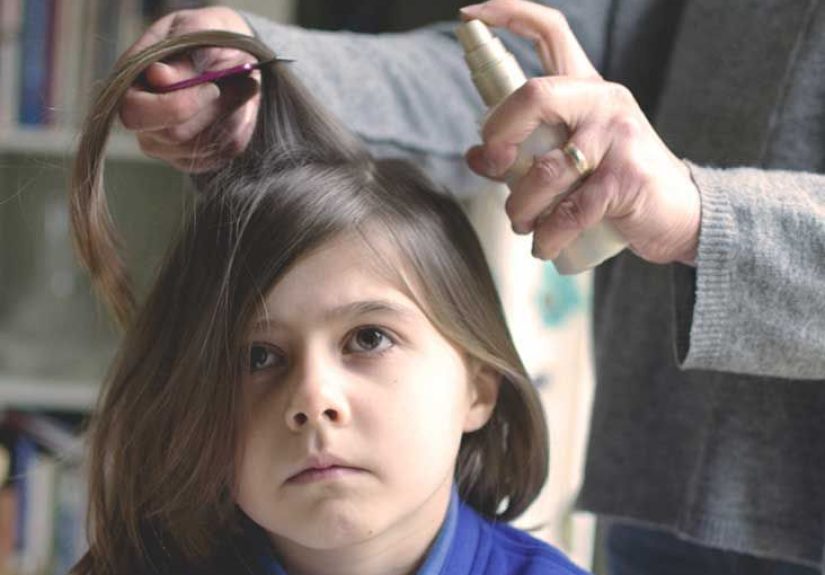
- Start with bangs dry and styled roughly how you wear them.
- Section only the fringe area (often a small triangle or wedge at the front). Clip everything else away.
- Comb bangs down, then lift them slightly with minimal tension.
- Cut using tiny vertical snips (point cutting) instead of one straight horizontal chop.
- Stop early, re-style, and only then decide if you need a bit more off.
Shortcut that works: If your bangs need just a cleanup, trim the smallest amount across the center first,
then blend outward with a few feather-light snips. The goal is softness, not a ruler-straight line.
7) The One-Guard Buzz Cut: The Easiest Short Haircut to DIY
Best for: very short styles; anyone who wants a uniform buzz.
This is the “I can’t mess this up too badly” methodprovided you use a guard.
- Choose a longer guard than you think you want (you can go shorter on a second pass).
- Start on the sides, moving clippers against hair growth in smooth strokes.
- Do the top last; go slowly and overlap passes to avoid patchiness.
- Check the back using a handheld mirror and good lighting.
- Finish by cleaning the neckline with a trimmer (optional) for a sharper look.
Beginner win: A longer guard first pass forgives shaky hands. A too-short first pass does not.
8) Short Back-and-Sides Refresh: A “Simple Taper” Without the Perfect Fade
Best for: short haircuts that just need maintenance; people who want to extend time between barber visits.
At home, aim for a soft taper, not a razor-crisp fade.
- Clip longer hair on top out of the way.
- Start with a longer guard on the sides and back. Work upward, then flick out as you approach the top of the sides.
- Switch to a slightly shorter guard for the lower half of the sides and back.
- Blend the line by making light, upward flicking motions where lengths meet.
- Bring the top down and scissor-trim only if needed (start tiny, and point cut for texture).
Truth bomb: Most at-home “fade fails” come from trying to be too sharp too fast. Soft blending looks cleaner than accidental racing stripes.
9) Neckline and Sideburn Cleanup: The 10-Minute Upgrade
Best for: everyone with short-to-medium hair.
If you do nothing else, cleaning the neckline and sideburns can make your whole haircut look intentional.
- Decide if you want a natural neckline (most forgiving) or a squared/rounded line (more maintenance).
- Use a trimmer to tidy stray hairs, keeping your line conservative and symmetrical.
- For sideburns, set a clear endpoint (mid-ear is a common reference) and match both sides.
- Step back, check in the mirror, and make micro adjustments only.
Don’t: chase perfection by going higher and higher. That’s how necklines become… opinions.
10) Curly/Coily Maintenance: Dry, Curl-by-Curl Trimming for Shape
Best for: curly, coily, and shrink-prone textures.
Curly hair can look dramatically different wet vs. dry, so many people prefer trimming in its natural, dry shape.
- Style hair as you normally wear it (dry, defined, and fully shrunk to its real-life length).
- Identify curls that are longer, uneven, or damaged, and trim one curl at a time.
- Cut at a slight angle and use small snips. Re-check shape from multiple angles.
- Focus on overall silhouette: balance left and right, then front and back.
- Stop before you “fix” every curl. Uniform perfection can remove the natural, pretty variation curls have.
Curly-hair sanity tip: Shrinkage is real. Always cut less than your instinct says, then reassess after the next wash day.
How to Avoid the Most Common DIY Haircut Mistakes
Mistake: cutting too much, too fast
Fix it with a rule: two passes. First pass is conservative. Second pass is refinement.
If you go aggressive on pass one, your only “refinement” option is learning how to love hats.
Mistake: using dull scissors
Dull blades bend hair, create frayed ends, and make your cut look rough. If your scissors fold paper instead of slicing it,
they are not invited to this haircut.
Mistake: skipping sectioning
Sectioning feels boring, but it’s basically the difference between “I did this at home” and “I did this in a moving vehicle.”
Clip hair into manageable zones, especially for short cuts and layers.
Mistake: cutting wet hair without accounting for shrinkage
Wet hair can appear longer. If you’re trimming bangs or curl-prone hair, dry cutting (or at least checking dry) helps avoid surprise shortness.
Aftercare: Make Your DIY Cut Look More Professional
- Wash and style the next day before judging. Hair settles differently after a cut.
- Use a light styling product to smooth ends or add texture (especially for bangs and layers).
- Consider a small “polish trim” a week later. Minor tweaks are easier than doing everything in one session.
- Take notes (guard length, where you sectioned, how much you trimmed). Future-you will be grateful.
Conclusion
Cutting your own hair at home isn’t about beating the salonit’s about smart maintenance and confidence. Choose the method that fits your hair type
and your comfort level, keep your goals realistic, and treat every snip like it costs $20 (because emotionally, it does).
With good tools, solid lighting, and a slow-and-steady approach, you can absolutely trim, tidy, and refresh your hair at home without drama.
And if you do end up with drama? Congratulations: you’ve joined a very large, very humble club.
of Real-Life DIY Haircut Experience (So You Don’t Have to Learn the Hard Way)
The first time most people cut their own hair at home, they don’t fail because they’re “bad at hair.” They fail because they’re in a hurry, overconfident,
or trying to recreate a professional technique without professional visibility. The biggest lesson I’ve seen repeated across DIY cutters is that the mirror setup
matters more than your “skill.” If you can’t clearly see the back of your head, you will accidentally create uneven patches and then spend the next 45 minutes
trying to correct themeach correction taking a little more length, until your original goal (“just a tidy-up”) turns into a completely different haircut
(“I guess I’m trying bangs now?”).
Another common experience: the emotional power of “just one more snip.” Haircuts feel deceptively editable. You snip, it looks a little better, and your brain says,
“Greatkeep going!” That’s how a tiny trim becomes a major shape change. A better approach is to build in pauses: do a few small cuts, stop, shake your hair out,
step back from the mirror, and look at the overall shape. The moment you feel yourself slipping into perfection-chasing mode, take a break. Your eyes adjust, your
hands get tired, and tired hands make chaotic decisions.
People also underestimate how much hair texture changes the game. Straight hair shows every uneven line, but curly hair can hide tiny mistakesuntil it dries and
shrinks, revealing you trimmed more than you thought. That’s why many curly-haired DIY cutters end up preferring dry, curl-by-curl trimming: you’re cutting what you
actually wear, not what your hair looks like in its temporarily stretched state. And if your hair is thick, you learn quickly that sectioning isn’t optional. A blunt
trim done “all at once” on thick hair almost guarantees you’ll miss interior pieces that spring out later like, “Hi, I survived.”
My favorite real-world win is the “maintenance mindset.” When people stop aiming for a brand-new look and start aiming for “two more weeks of looking put together,”
their results get dramatically better. Neckline cleanup, sideburn balancing, split-end dusting, and bang touch-ups deliver huge visual impact with relatively low risk.
Even the ponytail methods, while imperfect, can be surprisingly satisfying when used for gentle layering or a simple baseline refresh. The final experience-based tip:
document what you did. Write down your guard length, how you sectioned, and approximately how much you cut. DIY haircuts improve fast when you treat them like a repeatable
process rather than a random experiment. Next time, you’ll be calmer, quicker, and a lot more consistentbecause you’re not starting from zero; you’re building your own
personal “home barber/stylist playbook.”